Chainsaw File Size Chart
Chainsaw file size chart: file diameter by chain pitch.
Chainsaw File Size Chart
A file that's too large rounds the tooth face instead of sharpening it; one that's too small doesn't engage the full cutting edge. Chain pitch determines the cutter size, which determines the correct file diameter. This chainsaw file size chart matches file diameter to chain pitch for every standard chain designation.
Chainsaw File Size by Chain Pitch
File diameter must match the radius of the cutter's curved face — the file should contact the top plate and depth gauge simultaneously. Using the wrong file diameter produces incorrect hook angles and tooth height, reducing cutting speed and increasing vibration.
| Chain Pitch | Common Saw Types | Recommended File Size | Alternative (mm) |
|---|---|---|---|
| 1/4" | Carving saws, Pole pruners | 5/32" | 4.0 mm |
| 3/8" LP (Low Pro) | Homeowner / Small gas saws | 5/32" | 4.0 mm |
| .325" | Mid-size farm & ranch saws | 3/16" | 4.8 mm |
| .325" (Stihl) | Specific Stihl Pro chains | 11/64" | 4.5 mm |
| 3/8" Standard | Professional / Large gas saws | 7/32" | 5.5 mm |
| .404" | Very large / Rescue / Milling | 7/32" | 5.5 mm |
The "1/5th Rule" for File Height
Even with the correct file size, the depth at which the file sits in the tooth is critical.
- The Rule: Approximately 1/5th (20%) of the file’s diameter should always be held above the top plate of the cutter.
- The Result: This ensures the "side plate" and "top plate" are sharpened simultaneously, creating the correct "hook" or "beak" angle.
- If too deep: You create a "thin" edge that dulls instantly.
- If too shallow: You fail to sharpen the side plate, and the saw will just "dust" the wood rather than cutting chips.
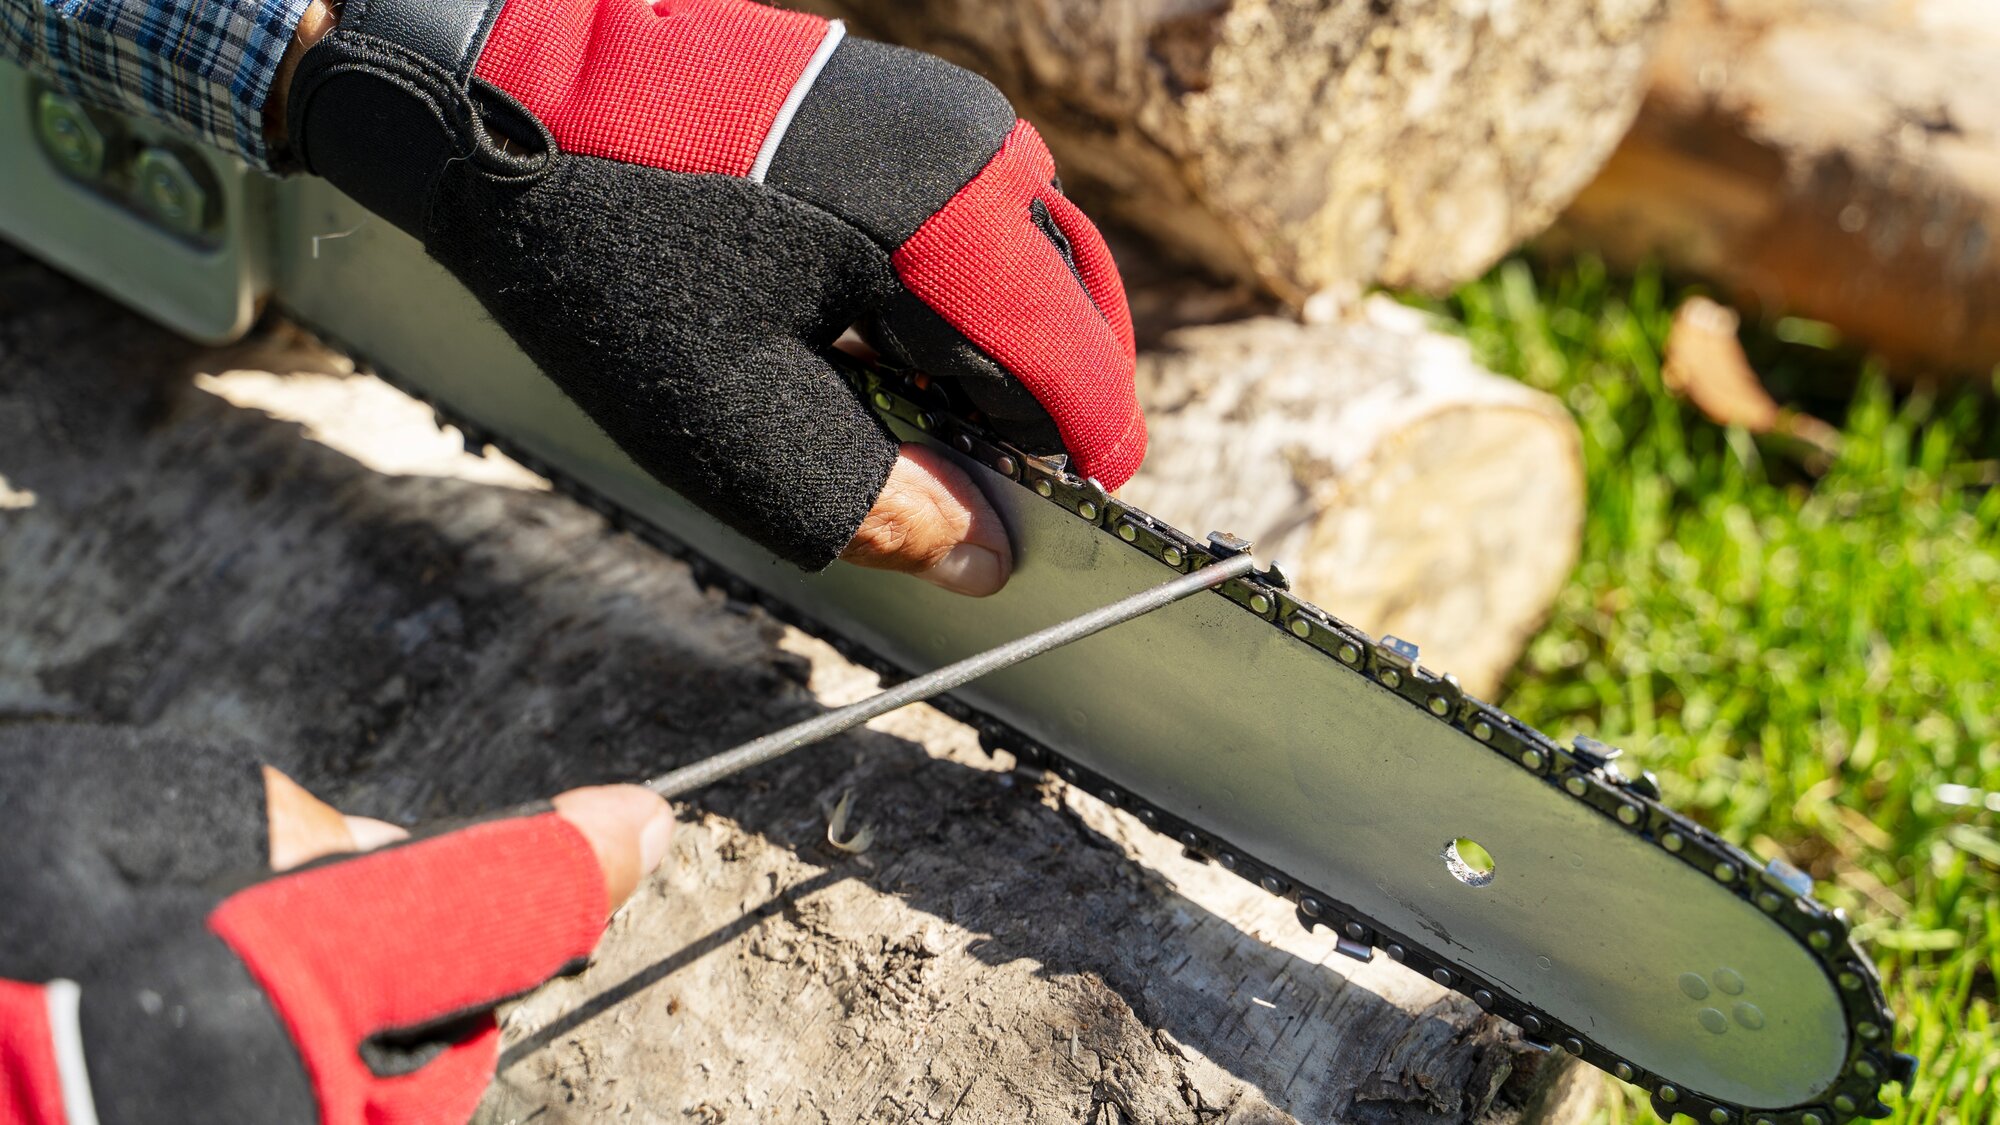
How to Read Chain Pitch and Gauge
- Pitch: The distance between three consecutive rivets divided by two. The most important chain specification — it determines drive sprocket compatibility and file size.
- Gauge: The thickness of the drive link (the part that fits into the bar groove). Common gauges: 0.043", 0.050", 0.058", and 0.063". Gauge determines bar and drive sprocket fit — a chain with the wrong gauge won't seat properly.
To identify your chain: look for the pitch and gauge markings stamped on the drive links, or find the saw's guide bar, which is stamped with compatible chain specifications.
Chainsaw Tooth Types: Chisel vs. Semi-Chisel
The shape of the tooth determines how you use the file sizes from the chart.
- Full-Chisel: Square-cornered teeth. These are the fastest cutters but dull quickly when hitting dirt. They require precise 30° angles.
- Semi-Chisel: Rounded-cornered teeth. These stay sharp longer in "dirty" wood (wood with bark or mud). They are more forgiving of slight filing errors.
Skip-Tooth: Fewer teeth on the chain. Used on very long bars (24"+) to allow the saw motor to maintain RPMs in large logs.
Sharpening Angles and Technique
Hold the file at the correct top-plate angle (typically 30°–35° for standard full-chisel chain, 10° for semi-chisel) and the correct filing angle relative to the bar (usually 0° down angle for most Oregon/Stihl standard chains). File with smooth forward strokes only — lifting on the return. Take the same number of strokes on each cutter to maintain uniform tooth height across all cutters.
Use a filing guide that clamps to the bar and holds the file at the correct angle — this is especially important for maintaining consistency when sharpening in the field without a bench vise.
Depth Gauge (Raker) Filing
After every 3–5 tooth sharpenings, check and adjust the depth gauges (rakers). The depth gauge controls how deeply each tooth bites. As teeth are sharpened and shortened, depth gauges must be filed down to maintain the correct clearance (typically 0.025" for soft wood, 0.020" for hard wood or frozen wood). Use a flat file and a depth gauge jointing tool — never reduce depth gauges with a round fi
Troubleshooting: "What is my saw telling me?"
Adding a "symptoms" section makes your article a go-to resource for frustrated users.
- The saw cuts in a curve: This means you have sharpened one side of the chain more aggressively than the other. Ensure you use the same number of strokes and the same pressure on both left and right-hand cutters.
- The saw produces fine dust instead of chips: Your teeth might be sharp, but your Depth Gauges (Rakers) are too high. Refer to the "Depth Gauge Filing" section to lower them.
- The saw "bounces" or chatters in the cut: Your depth gauges are too low (the teeth are taking too big a "bite"). This is a safety hazard and can lead to kickback.
Filing Safety: The "Burr" and Heat
- Directional Filing: Always file from the inside out (from the short side to the long point). Filing into the tooth (outside-in) will ruin the file’s teeth and can leave a burr that makes the chain feel dull.
- Avoid Heat: If you are using a rotary sharpener (Dremel style) instead of a hand file, be careful not to "blue" the metal. Turning the steel blue means you've removed the temper, and the chain will never hold an edge again.
When to Replace Rather Than Sharpen
Replace the chain when: cutters are less than 4 mm (5/32") long from the tip to the depth gauge shoulder, the chain has been cracked, bent, or has visible damage, or it has been exposed to dirt or metal that has removed the carbide or hardened surface from the teeth. A chain filed past service length produces poor cut quality and high saw vibration regardless of how sharp the teeth are.
Product Compliance and Suitability
The statements contained in this guide are intended for general informational purposes only. Such statements do not constitute a product recommendation or representation as to the appropriateness, accuracy, completeness, correctness, or currentness of the information provided. Information provided in this guide does not replace the use by you of any manufacturer instructions, technical product manual, or other professional resource or adviser available to you. Always read, understand, and follow all manufacturer instructions. Portions of this article were generated in part by ChatGPT.