How Do Emergency Lights Work? Install, Test, and Stay Compliant
When your business experiences a power outage, you don’t have time to guess where the exits are. That’s where emergency lighting comes in. But how do emergency lights work, and what does it take to install, test, and maintain them properly? Whether you're responsible for a commercial space or managing maintenance across facilities, understanding the basics of emergency lighting installation, inspection, and compliance requirements can help keep people safe and your business up to code.
Quick Summary
Emergency lights activate automatically when power fails. They switch to an internal battery backup that provides at least 90 minutes of illumination, as required by NFPA 101. These lights ensure safe evacuation and compliance with OSHA emergency lighting requirements.
What Are Emergency Lights?
Emergency lights are life-safety devices that switch on when a building loses its primary power. They are commonly installed in:
- Warehouses and industrial facilities
- Retail stores and offices
- Schools and healthcare centers
- Public buildings, stairwells, and corridors
Their primary purpose is to guide occupants safely to exits during an emergency.
Types of Emergency Lighting Systems
Three of the most commonly used and required types of emergency or exit lights include:
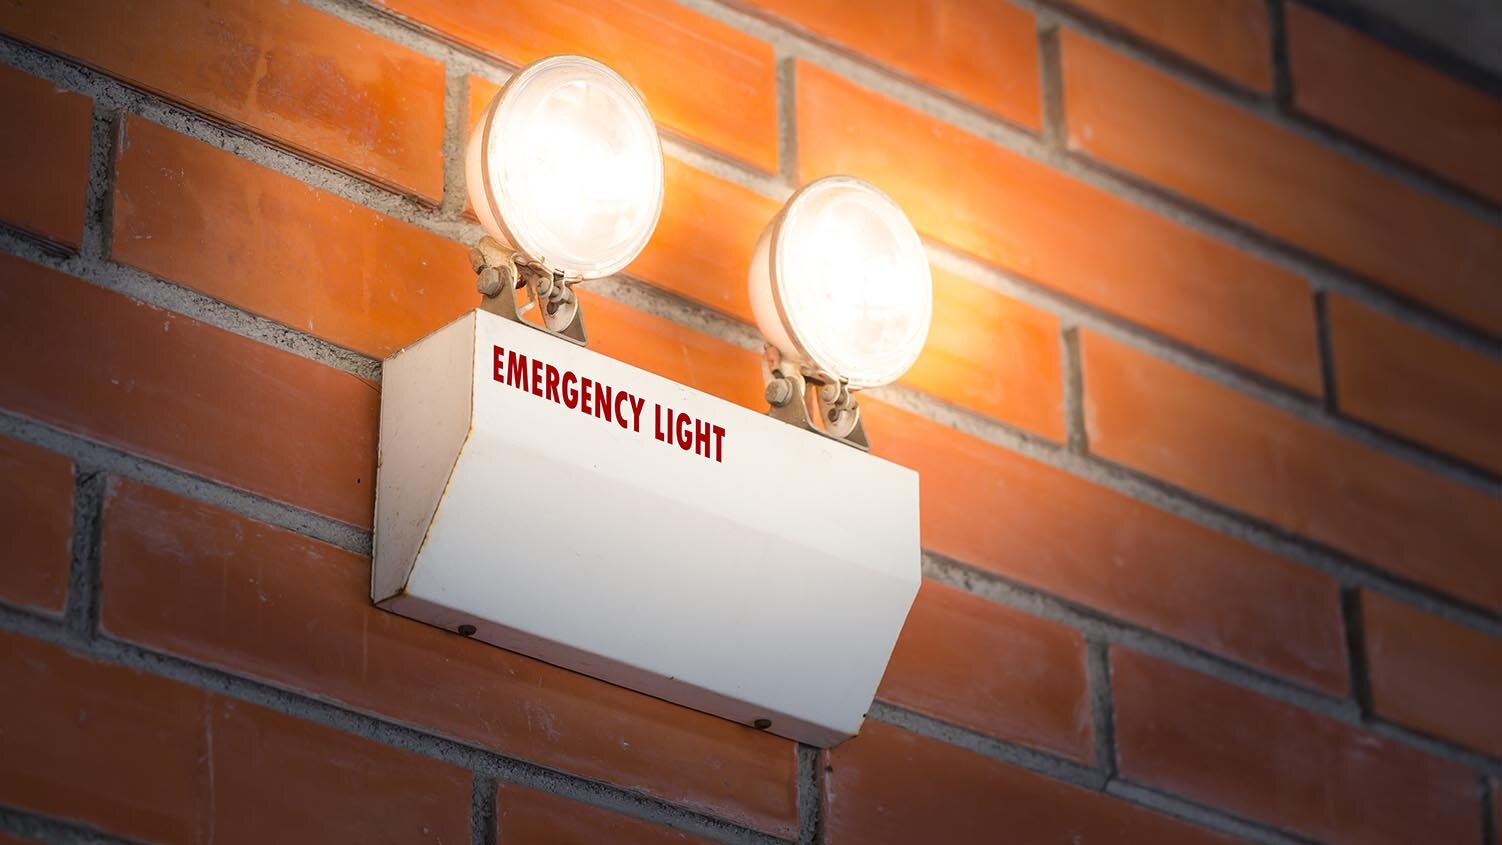
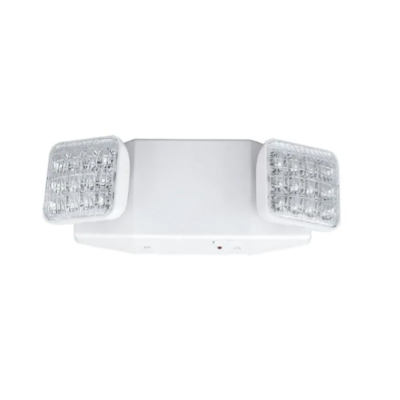
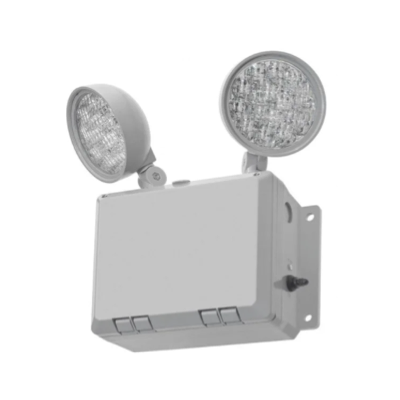
- Emergency lights, which typically house two lamps composed of several ultra-bright LEDs. These lights are built for efficiency and durability and include a long-lasting battery for use during outages.
 |  |  |
Typically use LED lights for efficiency and include a backup battery. These are commonly designed as mountable signs with red letters in a plastic housing, but other colors and materials are available.
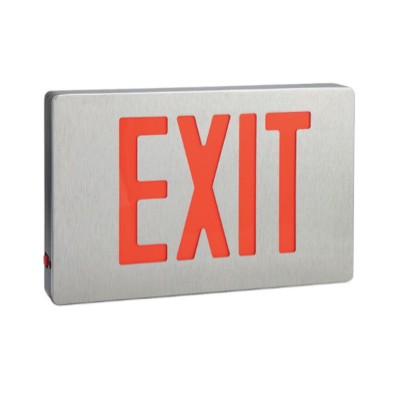
Exit Signs with Emergency Lights
These signs combine exit indicators with directional lighting.

How Do Emergency Lighting Systems Work?
Emergency lighting units are wired into the building’s electrical system but include an internal battery.
When the main power is interrupted, a relay switch triggers the backup battery. Lights remain illuminated for at least 1.5 hours (per OSHA and NFPA 101). Illumination should be sufficient to guide occupants safely to exits.
Most systems use sealed lead-acid or nickel-cadmium batteries, designed for reliability and safety.
Emergency Lighting Installation Basics
Installing emergency lighting the right way helps ensure safety and code compliance. While many businesses hire a licensed electrician, some owners choose to handle installation themselves. If you do the installation, follow the manufacturer’s instructions closely and always shut off power at the circuit breaker before starting work. Remember, an emergency light is connected to the electrical wiring of a building and is designed to switch to battery power during an outage or if a breaker is tripped. Before installing, first make sure the circuit you are connecting to is turned to the OFF position to avoid possible electrocution, and that the fuse box is tagged “Do Not Energize.”
Installation Options
Wall-Mounted
- First, take off the mounting pattern cutouts from the back plate to allow the wires to pass through.
- Install the provided bushing into the wire holes. These thin, hollow tubes are insulators that allow electricity to pass through safely without making contact with the fixture.
- After pulling the circuit wiring through the pass hole, attach it to the sign.
Ceiling- or End-Mounted
- Remove the wire pass cutouts from the top or side of the unit.
- Attach the canopy to the power pack or the sign itself using provided screws and hardware.
- Use the two longest screws in the outer holes of the hanging plate to attach the unit.
- Pull the circuit wiring through the center hole in the plate and fasten the plate to the electrical box.
- Maneuver the circuit wiring through the pass hole into the power pack.
- Place the sign or fixture canopy onto the electrical box, making sure the long plate screws pass through the holes.
- Secure the sign or canopy using the supplied nuts.
- Once the unit is mounted, the wiring is typically covered with metal or thermoplastic housing.
After mounting, any exposed wiring should be enclosed in metal or plastic housing to meet code.
Making the Connection
You will need to make either two or three connections to your electrical system to properly install the emergency lights. Review the instructions to establish the voltage needed for the fixture—120 or 277 volts. Then, look at the connection on the fixture itself. The wires should feature the following:
- A single common wire (white)
- 120-volt wire (black)
- 277-volt wire (red)
- An optional ground wire (green)
Connect the appropriate common and voltage wires from the power to the unit (and the ground wire if your fixture calls for it). You may need to use wire strippers or crimpers to remove the wire cover and make the connection. Be sure not to connect both the 120-volt and 277-volt wires, as it will cause the light fixture to malfunction.
Testing and Maintenance Requirements
Routine testing is required to stay compliant and ensure readiness.
Testing Checklist
- Monthly: Press the test button to confirm activation.
- Annually: Run a full 90-minute test.
- Battery Checks: Replace as needed.
- Record-keeping: Maintain logs or inspection forms.
Troubleshooting Common Issues
- Dim or flickering lights → Battery nearing end of life
- Test button unresponsive → Wiring or switch issue
- No light during outage → Dead or uncharged battery
Regular inspections reduce liability and improve safety.
OSHA and NFPA 101 Compliance Requirements
To meet compliance standards, emergency lighting systems must:
- Activate automatically during outages.
- Provide at least 90 minutes of illumination.
- Deliver enough brightness to illuminate exit routes.
- Undergo monthly and annual testing.
Failure to comply can result in safety hazards and potential fines
Final Takeaways
Emergency lighting is a critical part of workplace safety. By understanding how these systems work, following installation best practices, and staying on top of testing requirements, businesses can remain OSHA and NFPA 101 compliant while protecting employees and visitors. Browse Zoro’s full selection of emergency lighting systems to find solutions for your facility.
Product Compliance and Suitability
The product statements contained in this guide are intended for general informational purposes only. Such product statements do not constitute a product recommendation or representation as to the appropriateness, accuracy, completeness, correctness or currentness of the information provided. Information provided in this guide does not replace the use by you of any manufacturer instructions, technical product manual, or other professional resource or adviser available to you. Always read, understand and follow all manufacturer instructions.