How to Clean Paint Brushes
An investment in good paint brushes is worth it, but only if you take the time to clean them regularly. Professional painters swear by quality brushes—many even prefer certain brands over others—because they glide smoother on surfaces and are easier to clean compared with bargain basement ones.
Good quality brushes have bristles firmly attached. And generally, the more expensive the brush, the more bristles it has and the better they stay in place during use. Don’t be tempted to store paint-filled brushes in water or wrap them in a bag to use the next day. Trust us: If you clean brushes after each use, you’ll be rewarded every time you use them in the future.
If you have a paint job on the horizon, search for natural animal-hair brushes to use with oil paints, and synthetic nylon or polyester brushes for water-based latex paints. If possible, keep your brushes separate and use only with the appropriate type of paint. For example, water-based paints will absorb into the bristles of natural brushes, making them limp and negatively impacting their performance. The hollow fibers of synthetic brushes are better suited for latex and water-based finishes.
However, if you accidentally use an oil paint brush with latex paint, there’s no need to throw it out. Follow the latex brush cleaning instructions below, make sure the brush is clean and dry, and work a small dollop of raw linseed oil (found at most paint stores) into the bristles. That should do the trick and save your brush.
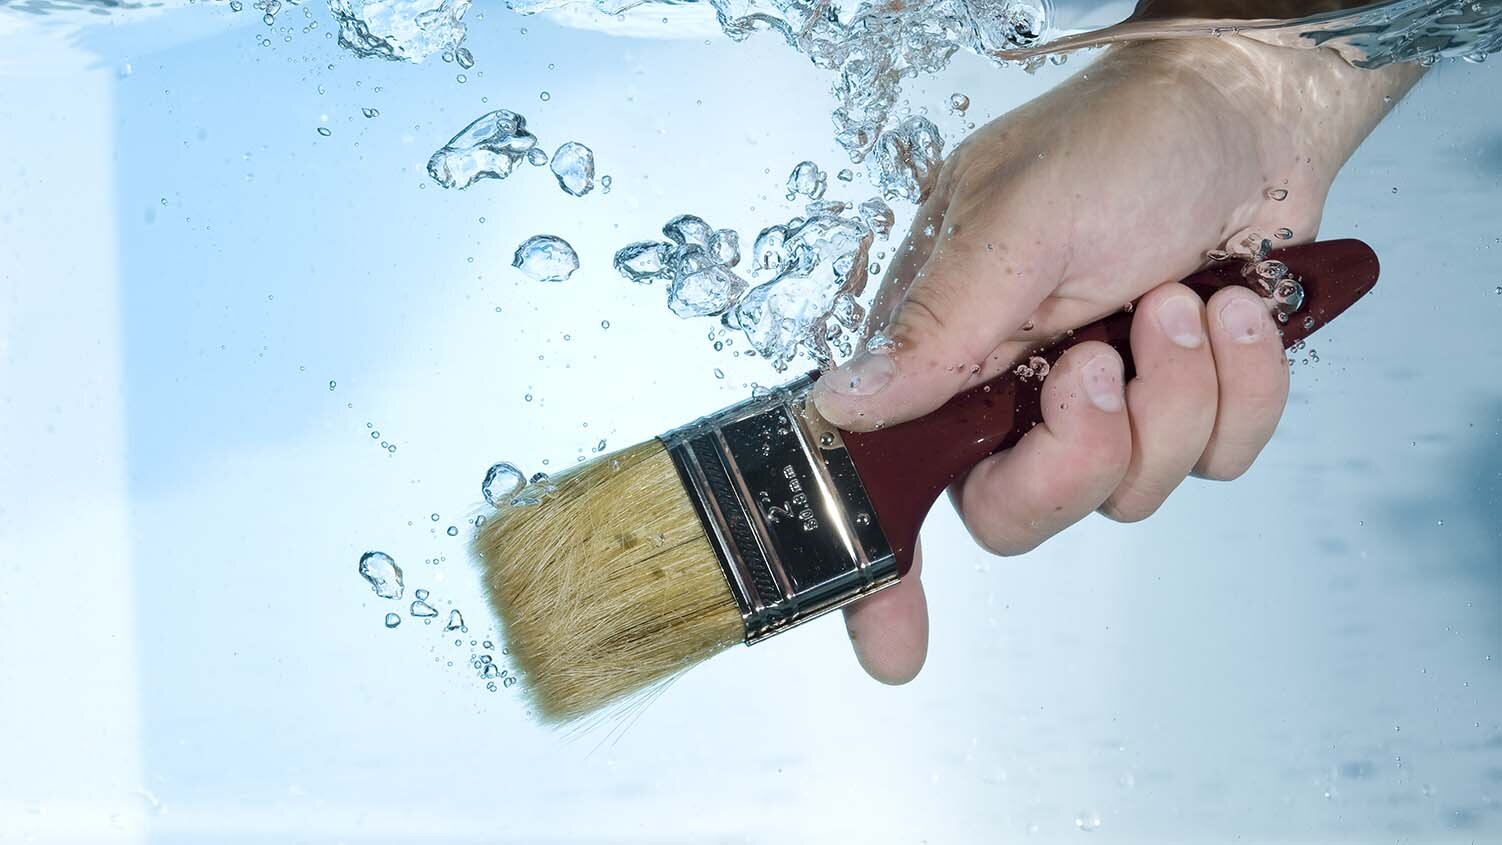
To make it easier to clean your brushes, during the painting process you should try to keep paint off the ferrule, which is the metal part that holds the paint bristles to the handle. The more paint you get on the ferrule, the harder it will be to clean your brushes because paint that collects on the ferrule inevitably makes its way down to the bristles. To help avoid this, don’t load too much on your brush when painting. Professionals advise only dipping your brush a width of two to two-and-half fingers each time you dip into a bucket or pan.
Cleaning immediately after use is key, as dried paint shortens the lifespan of perfectly good brushes quicker than almost anything else. Clumps of dried paint are not only tough to remove from bristles, they also cause them to become less flexible. When this happens, brushes have a harder time putting down a smooth coat of paint with each stroke.
Cleaning Brushes Used with Latex Paint
Step 1
Scrape off any excess paint, removing as much as you can. Run the brush over the rim of the can and then work the brush into an old newspaper.
Step 2
Put the brush in a bucket of hot soapy water. Start near the ferrule and work your way down to remove excess paint from bristles using your hands or the brushside of a painter’s comb.
Step 3
Spin the brush around in the bucket of soapy water to continue removing paint from bristles.
Step 4
Rinse the brush with clean water. Again, work the bristles by spinning the brush in your hand.
Step 5
Use the brush comb to straighten any stray bristles. Then, wrap the brush with heavy-grade paper or paper towels, folding it over to help maintain its shape. Wrapping your brushes also helps keep excess dust and dirt off the bristles. Tie the paper loosely with string to keep it secure.
Cleaning Brushes Used with Oil-Based Paint
This is very similar to the steps for latex paints, but uses paint thinner rather than soapy water.
When cleaning oil paint brushes in solvents such as paint or lacquer thinner, always work outdoors or in a well-ventilated area to avoid inhaling dangerous fumes. Never clean brushes with solvents near any devices with an open flame and keep paint thinners in properly marked containers and away from children or pets.
Step 1
Put on chemical-resistant gloves and douse your brush thoroughly with paint thinner. Work the bristles with your hands. It is typically easier to remove excess oil-based paint versus thicker latex paints.
Step 2
Spin the brush around in the paint thinner for at least 10 seconds. Continue to use a brush-and-roller spinner until almost all of the excess paint is out of the bristles.
Step 3
Dip the brush into a clean container of paint thinner and aggressively work the bristles for at least two minutes.
Step 4
Spin the brush in the paint thinner one more time.
Step 5
Place the brush in a container of lacquer thinner and work the brush again for a minute or so. Shake it onto an old newspaper to get rid of the residue. (Be careful: Lacquer thinner is highly flammable so always perform this step outside.)
Step 6
Now, clean the brush one last time in a bucket of dish soap and squeeze the bristles firmly for one minute only. Spin the brush to remove excess water and then shape the brush in folded paper, similar to above steps for brushes used with latex paints.
Remember, if you start with quality brushes and clean them immediately after each use, your paint brushes will perform at a high level for years to come—and probably end up saving you some money in the long run.
Product Compliance and Suitability
The product statements contained in this guide are intended for general informational purposes only. Such product statements do not constitute a product recommendation or representation as to the appropriateness, accuracy, completeness, correctness or currentness of the information provided. Information provided in this guide does not replace the use by you of any manufacturer instructions, technical product manual, or other professional resource or adviser available to you. Always read, understand and follow all manufacturer instructions.