How to Install the Utility Sink
How to Replace a Utility Sink
You've probably seen a utility sink before—though you may not know the name for it off the top of your head. Utility sinks are very deep, free-standing sinks with a large basin. They are commonly found in laundry rooms and basements, but can be used for a wide variety of purposes, including gardening, DIY projects, and in art studios. With their spaciousness and drainage, these sinks are highly practical and best for deep scrubbing and difficult cleaning jobs.
Utility sinks can also be made from several different materials, with low-cost acrylic being the most common and easiest to use for certain applications. Porcelain is also a common and practical choice, while stainless steel is more expensive but highly durable.
As you'll see below, replacing an existing utility sink is an intermediate-level project that can be done at home with the right tools. If you're installing a sink in a new location and need to reroute your water lines and drain pipes, you may need some plumbing experience or the help of a pro to complete the installation.
Tools for Installation
Before installing your utility sink, make sure you have the right tools ready to go. At minimum, you'll need a screwdriver, bucket, hammer, and a pair of pliers. You'll likely also want to have a level and a compression nut on hand. Some of these items may come with the sink when you purchase it, or you may have workable options in place with your existing sink that you can keep as you install a new one.
If you'll be installing a new sink or rerouting your pipes for any reason, you'll also need a PVC handsaw and some PVC pipe cement and primer on hand, plus any PVC connectors or piping you'll be adding to make the connection (such as a Y-fitting). If you're working with copper or brass pipes (usually for the main hot and cold water lines), you'll also need a tubing cutter, propane torch, lead-free solder, and a pair of safety glasses.
Of course, you'll also need to have your plumbing lines in the right location, as well as an appropriate faucet and the utility sink itself to install. (Many sinks will come with the faucet, but not all.) The exact process will depend on whether you're installing a utility sink in a brand-new location or replacing an existing one, which we'll discuss below.
How to Install the Utility Sink
The steps below assume that you are replacing an existing utility sink or laundry tub. If this is the case, you can skip ahead to step 1. However, if you're installing a sink for the first time, you will likely need to adjust the plumbing in your space to fit the new sink first. For example, you may need to cut the drain pipes connected to your washing machine with a handsaw and use PVC pipe to extend the connection to your new sink. You may also need to use lead-free solder with a soldering iron to reroute the hot and cold water lines.
If you're soldering copper pipes, don't forget to wear safety glasses! Note that rerouting the plumbing involves more advanced procedures and may require assistance from a professional. Once you've rerouted the pipes to your desired location, you can move on to the steps below.
- Start by shutting off the water at the source (the main line of your home). Open the faucets to flush out any water.
- Next, with a water bucket placed underneath to catch any water, loosen the nut that connects your existing faucet to the existing sink. Underneath the sink, remove the trap with your bucket situated under it. You should now be able to pull the existing sink out from the wall and remove it.
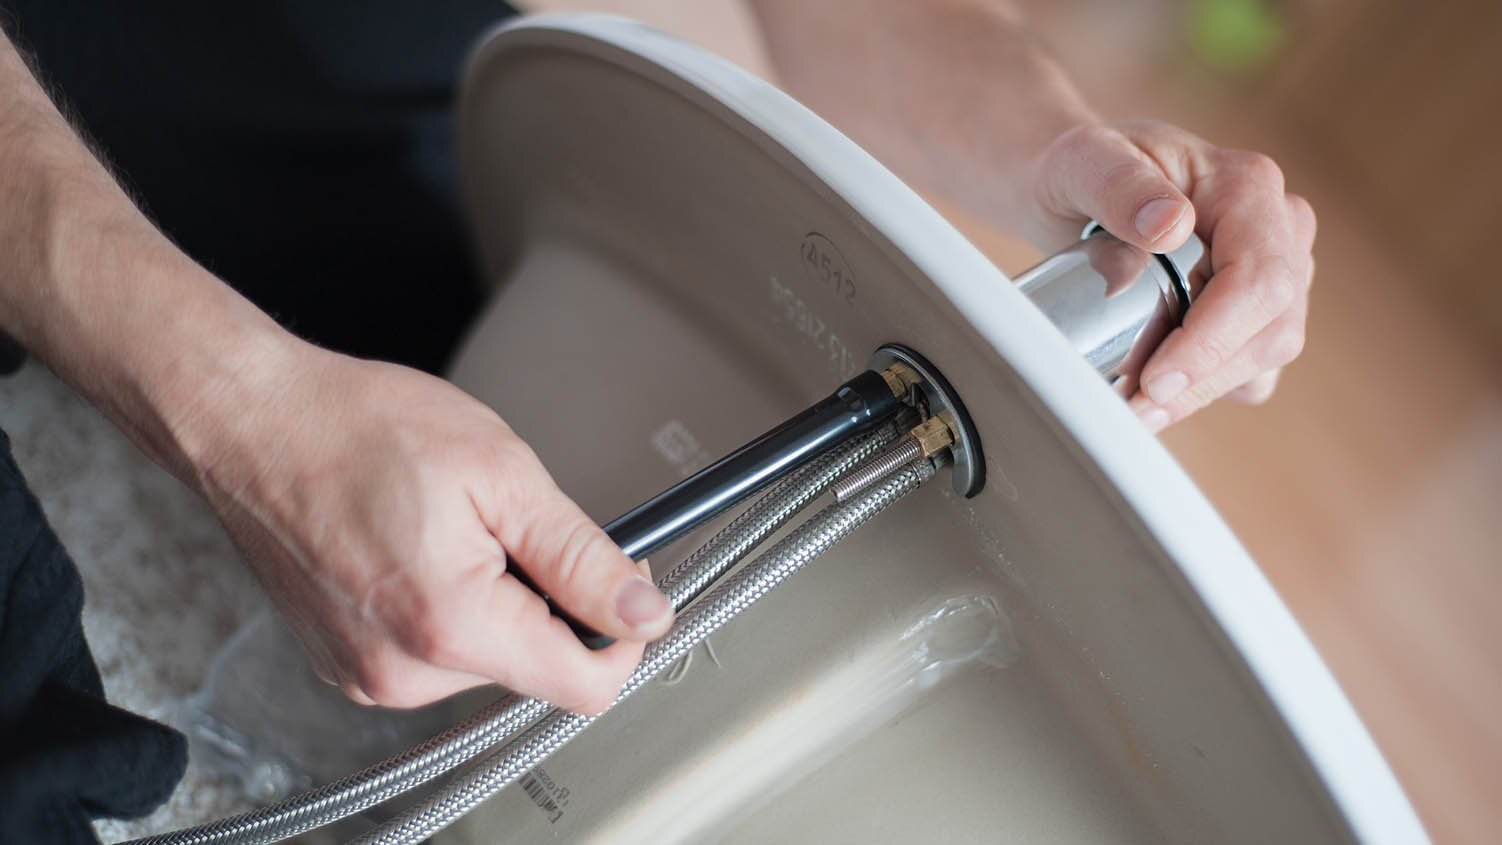
- Next, assemble the new utility sink. Attach the four legs (and feet) to the bottom of the sink and hammer them into place. Attach the mounting block (it may simply click into place) to the top of the new sink and tighten the faucet against it. You can then use a level and the sink's adjustable feet to ensure that the sink is level, even if the floor is uneven.
- With the gasket in place, use the slip nut to connect the included pipe to the bottom of the sink drain.
- Use this same process to attach the trap and the pipe leading to your main water line.
- Reconnect the water at the source and check for any leaks; you'll need to make sure the pipes and trap line up with each other, but don't force it and don't overtighten them.
Product Compliance and Suitability
The product statements contained in this guide are intended for general informational purposes only. Such product statements do not constitute a product recommendation or representation as to the appropriateness, accuracy, completeness, correctness or currentness of the information provided. Information provided in this guide does not replace the use by you of any manufacturer instructions, technical product manual, or other professional resource or adviser available to you. Always read, understand and follow all manufacturer instructions.