How to Install Permanent Bollards
Used as roadside guides to direct pedestrian or vehicle traffic, bollards are common architectural elements that can be found in both city and suburban settings. In some situations, these short posts function mostly to provide aesthetic flair to building projects. But in many cases they serve a serious purpose, providing an effective security barrier for buildings against the impact of an oncoming vehicle.
Bollards were originally used for mooring, either on ships or on docks, but today they are more commonly associated with their uses on land. The use of bollards grew more prevalent in the wake of two major U.S. terrorism events: the Oklahoma City bombing of 1995 and the World Trade Center attacks on 9/11.
Whether they are tasked with seamlessly guiding traffic patterns or bike lanes, containing a specific pedestrian area like a park, or helping define the perimeter of a construction site, bollards provide much-needed protection and are essential elements of any civic design plan.
There are two main categories of bollards:
- Permanent bollards are typically made of concrete, iron, steel, stainless steel, or heavy aluminum. When installed properly, they provide a high level of impact protection.
- Temporary plastic bollards are easy to install and transport, and also can be quickly replaced if damaged. They are used more as a visual reference than for protection, as these highly flexible dividers won’t damage a car and usually bounce back after impact.
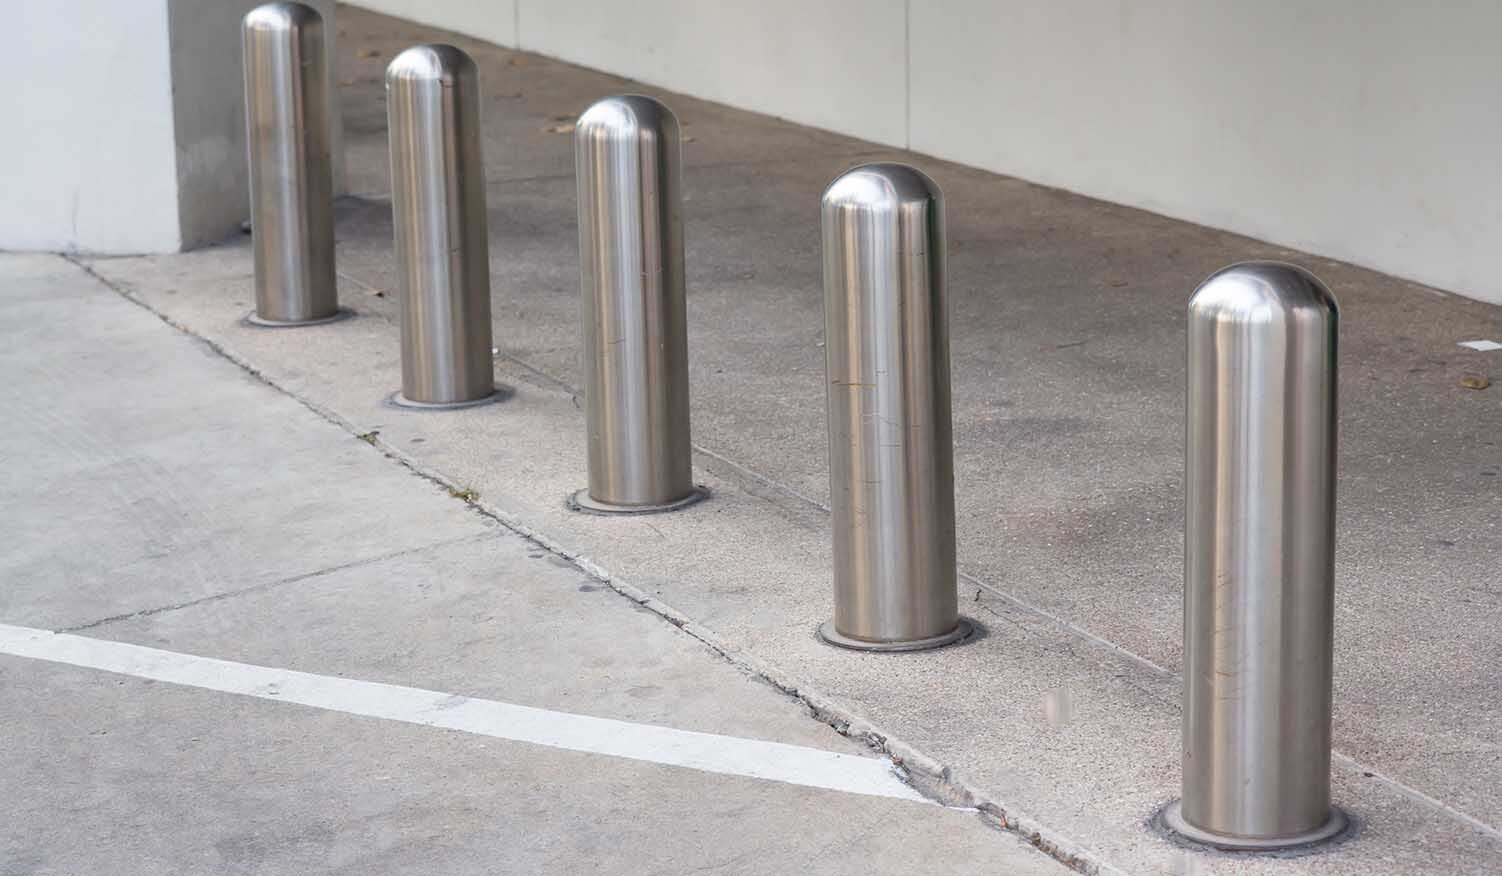
How to Install Permanent Pipe Bollards Into Concrete
Steel pipe bollards are among the most versatile types of security posts. They provide safety but can also be easily enhanced with attractive and ornamental coverings. See below for the necessary tools, pre-installation advice, and step by step instructions on how to successfully place permanent pipe bollards into existing concrete.
Tools and Materials
- Core drilling rig, which is a tool specifically built to cut into concrete to remove a certain diameter of material.
- Post hole digger, which uses two clam-shaped blades to dig narrow holes.
- Measuring tape
- Vacuum or shop vac
- Broom or pressure washer
- Shovel
- Chalk or a heavy-duty marker
Pre-Installation Tips
If you require specific impact resistance requirements, consult with a structural engineer before beginning your installation. Many local municipalities or power companies will also come out to ensure your digging area does not reach water, gas lines, cable lines, or underground wiring. Or you can consult outdoor site plans if they are available.
If all else fails, consider using an x-ray to check the ground and make sure digging will not do any damage or pose a safety risk. When digging into existing concrete, clean the surface with a broom or pressure washer before you begin digging.
Step by Step Instructions
Step 1: Remove concrete
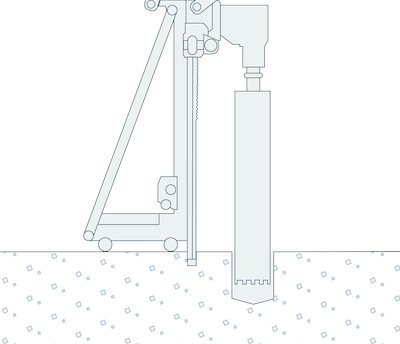
First, core through the concrete using a core drilling rig. To determine the diameter of the hole, measure the circumference of the bollard’s base and add another two inches around. Mark the diameter with chalk or a marker. Use a shop vac to suck out any standing water.
Step 2: Dig the hole
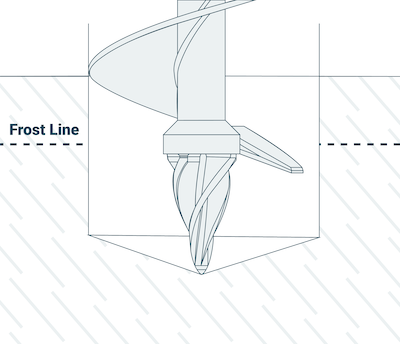
After removing a sufficient layer of concrete, use a post hole digger to dig the hole.
Wherever you’re planning to install your bollard, you’re going to need to know at what depth you’ll reach the frost line. This is important because the bollard will not be secure in the ground if it does not reach beyond the frost line in the ground. Consult your local Building Code Department to determine the recommended digging depth beyond the frost line in your specific area and dig to precisely that level.
Step 3: Set the bollard

Follow the instructions on your preferred concrete and make sure it features the recommended ratio of water to concrete mix. Pour concrete into the hole to the top so it is level to the ground surface.
Remove the pipe from its protective covering and insert it into the concrete, turning it while simultaneously pushing it downward. Keep pushing down until you hit resistance at the bottom of the hole. This could require two people, depending on the weight of the post.
Take your level and place it on the side of the bollard. Adjust the bollard as necessary until it is straight. After the concrete hardens, it will be impossible to move without tearing out the concrete again. Then, patch the surface around the base of the bollard so it is even with the ground surface.
Step 4: Fill the bollard
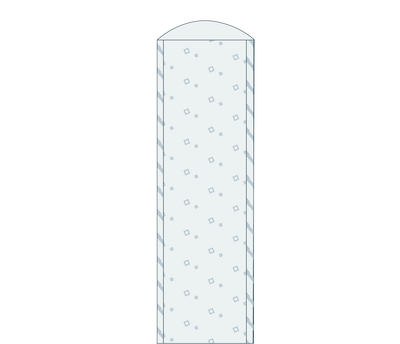
Now, it’s time to fill the inside of the post with concrete and finish it. After using your shovel to fill the entire length of the bollard, consider creating a domed top to minimize the build-up of dust, dirt, and water on its top. Either form a small mound of concrete at the top or place a bollard cap on the wet concrete. Finally, use a rag or cloth to wipe down the surface of the post.
To be sure the bollard is straight and level, step about ten to twenty yards away and look at it from a distance. It will usually take two or three days for the concrete to cure and the post to be secure.
Once your bollard is standing tall, it should serve its intended purpose for many years to come.
Product Compliance and Suitability
The product statements contained in this guide are intended for general informational purposes only. Such product statements do not constitute a product recommendation or representation as to the appropriateness, accuracy, completeness, correctness or currentness of the information provided. Information provided in this guide does not replace the use by you of any manufacturer instructions, technical product manual, or other professional resource or adviser available to you. Always read, understand and follow all manufacturer instructions.