How to Paint Kitchen Cabinets
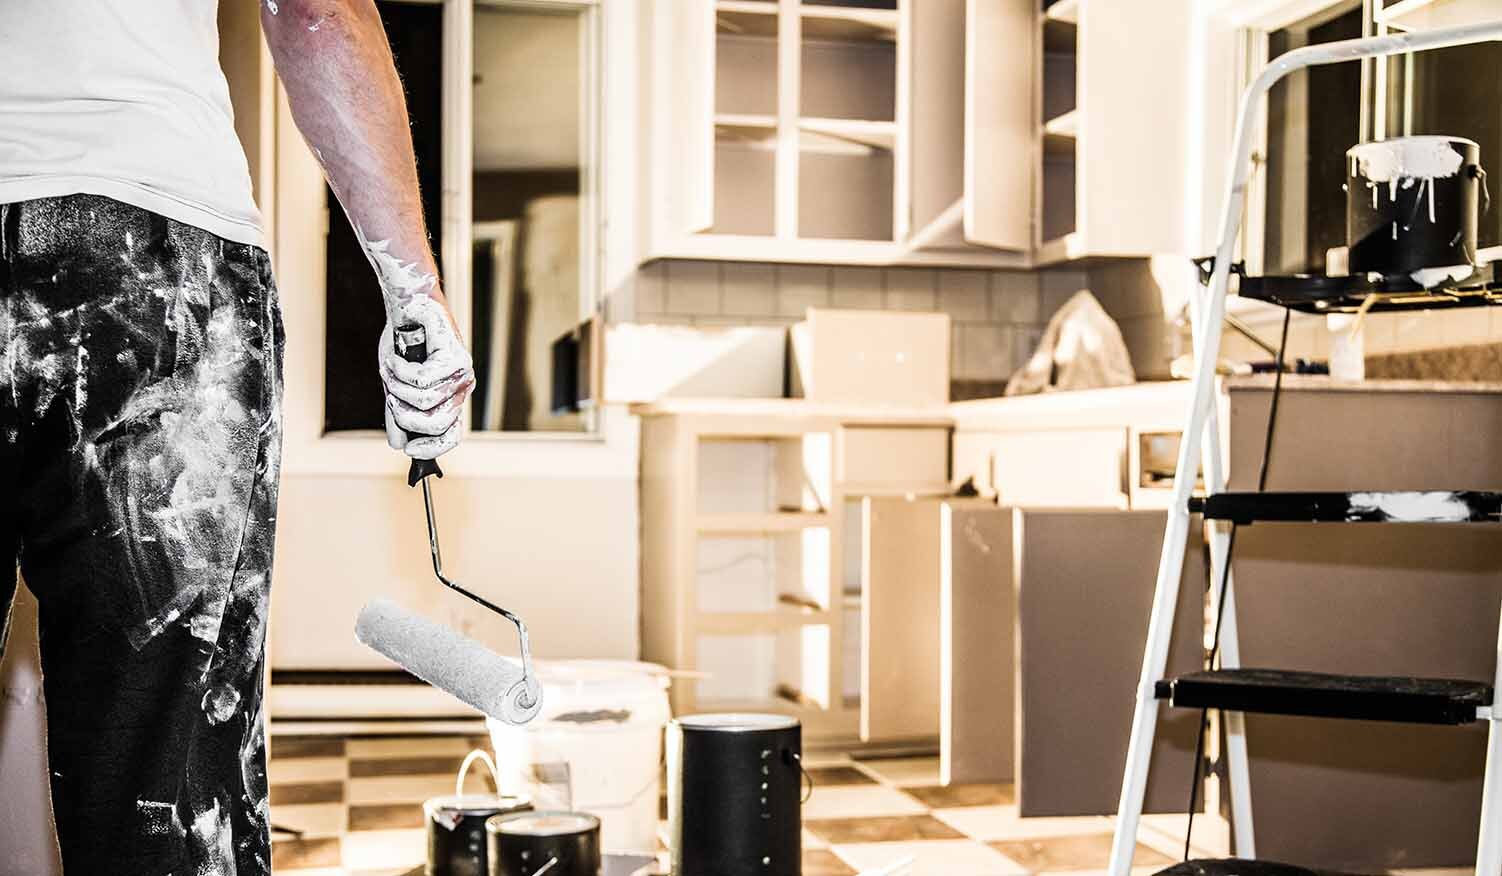
Feel like your kitchen needs a facelift? Repainting your kitchen cabinets can make a huge impact without costing you a ton of money. Follow this guide to decide what tools you need and the best approach to take, depending on the type of cabinets you have. Keep in mind that this is probably more than a one-day project, so make sure you have some time set aside.
Step 1: Determine cabinet type and condition
Before you pick out your supplies, determine what type of cabinet you’re working with. Most cabinets are made of wood, metal, or laminate. Knowing what type of cabinets you have will help you prepare for the type of paint you’ll need to buy. You’ll also want to assess the condition of your cabinets. Are they already painted, but the paint is in bad condition? If they’re made of wood, are there are any deep dings that will need wood filler to repair?
Possible supplies needed
Step 2: Select a type of paint to use
You have many different options when deciding which paint is best to use for your kitchen cabinets. You can use almost any type of paint for wood cabinets, while laminate cabinets will require a bonding primer. Since most kitchen cabinets have raised surfaces, in this article we’re going to go over steps for using spray paint. Spray paint takes a moment to adjust to but will give you a smoother-looking and more professional finish when you’re done.
Step 3: Collect supplies
In addition to the supplies listed above, there are other tools you’ll need to complete the job. Here is a list to help you get started.
Acrylic Latex-Based Paint
Spray Paint
Optional
You might also consider these things to spruce up the look or function of your cabinet doors. In terms of hardware, if you don’t have adjustable hinges or self-closing ones, you might consider upgrading your old hinges.
Step 4: Remove cabinet doors
Before you start, you might want to consider setting aside a space in a well-ventilated area. Lay a drop cloth over the area to prepare your space. Now, with all your supplies together, you’re ready to remove the doors. Use bags to collect all of the hardware and keep it organized. Having a drill will make this easier, but a screwdriver will also do the job. As you remove the doors, bring them over to your work area and lay them out on the drop cloth so that none of them are touching.
Step 5: Prep cabinets for paint
If your cabinets have old, chipping paint on them, use a paint stripper to remove the paint first. Sand all of the surfaces you plan to paint. If you find dings in the doors, use wood filler to smooth them out and then re-sand. Remember that your paint job will only look as smooth as your sanding job, so now is the time to be meticulous. When you’re done, thoroughly wipe the cabinets down and vacuum the area to ensure there are no dust particles lying around that might get trapped in the wet paint.
Step 6: Cover surfaces
Spray painting the doors will be easy, but getting to the parts of your cabinets that are attached can be more of a challenge. To make the job easier and less messy, be sure to use the painter’s tape and drop cloths to cover exposed counters, walls, and floors that you don’t want painted.
Step 7: Prime your cabinets
Your finger will get tired quickly if you just use a spray paint can alone, but you can purchase a spray can grip for very little money. Shake your primer can for about 3 to 4 minutes, then load the can in the grip and cover all of the surfaces you plan on painting with a thin layer of primer. You only need to prime your surfaces once. They should be dry to the touch after 20 minutes and dry enough to handle within the hour. Once you have the primer on, it is recommended that you apply your first coat of spray paint within an hour after applying primer.
Step 8: Spray cabinets
Shake your paint can up for about 3 to 4 minutes, then do a test spray on some scratch newspaper. You can also test what the best distance for you to spray at will be. Once you’re satisfied with spray, start on your doors first. If you make a mistake here, it will be easier to fix. In general, you want to hold the can about 8" away. Cover the entire surface with a thin, even layer and try not to get hung up on any areas where the cabinets or old paint is showing through. You’ll be able to fix this on your second run. When you’re done, wait at least 24 hours before applying a second coat.
Once you’re satisfied with your paint job, you can begin the work of taking down any protective layers you’ve put up and reinstalling the doors and hardware. Just be sure that you’ve given all of the pieces an ample amount of time to dry. If you’re working with adjustable hinges, it may help to learn how to adjust cabinet door hinges. This will give a noticeable finishing touch to your work and make the cabinets easier to use.
Product Compliance and Suitability
The product statements contained in this guide are intended for general informational purposes only. Such product statements do not constitute a product recommendation or representation as to the appropriateness, accuracy, completeness, correctness or currentness of the information provided. Information provided in this guide does not replace the use by you of any manufacturer instructions, technical product manual, or other professional resource or adviser available to you. Always read, understand and follow all manufacturer instructions.