How to Replace a Ceiling Tile
For a small business owner or operator, a damaged ceiling tile can seem like a disaster—but it doesn't have to be. Whether your ceiling has experienced stains or water damage from leaks or has suffered a puncture or a hole from nearby objects, you'll want to repair or replace the damaged tiles quickly to ensure the tidiness and functionality of your space. Fortunately, this is a relatively straightforward and simple process that can be accomplished by both DIYers and professionals alike. In this guide, we'll explore the steps, materials, and tools needed when replacing a damaged ceiling tile.
1. Assess the Damage
Assessing the damage should be your first step as you prepare to replace a ceiling tile. You'll need to determine how many tiles have been damaged, what caused the damage, and whether it may continue to cause issues even after replacing the affected tiles. Look for signs like sagging or drooping tiles, as well as stains and discoloration that could indicate water damage. You should also inspect tiles for cracks and signs of mold growth, as well as instability in a suspended ceiling.
2. Gather the Necessary Tools
Gather all the necessary materials and tools for the tile replacement. This may include:
3. Wear Personal Protective Equipment (PPE)
Don't forget to wear appropriate PPE when dealing with ceiling tiles, especially if you know that hazards may be present. Any team members working on your ceiling should also wear PPE. This includes safety glasses or goggles, dust masks, and gloves to protect workers from dust and debris.
4. Replace Ceiling Tiles: Interlocking vs. Suspended
How to Replace Interlocking Ceiling Tiles
If you are working with interlocking ceiling tiles, start by using a utility knife to make an "X" (two intersecting lines) in the tile and remove it from the middle. Lift gently, using proper PPE, and dispose of all old tiles. Remove any staples or nails as well as remaining adhesive. If aligned properly, the new tile will lock into place once the old tile has been completely removed.
How to Replace Suspended Ceiling Tiles
The replacement process will be slightly different when working with suspended ceiling tiles (which are also referred to as "drop ceilings" in many cases). To remove the damaged tiles, first determine whether the existing tiles are held in place with adhesive or other materials. If they are, you may need to use a wallpaper steamer and/or scraper to remove the adhesive from the area. Also, note that any ceiling tiles and adhesives installed before 1980 should be properly tested for asbestos before moving or removing the tiles.
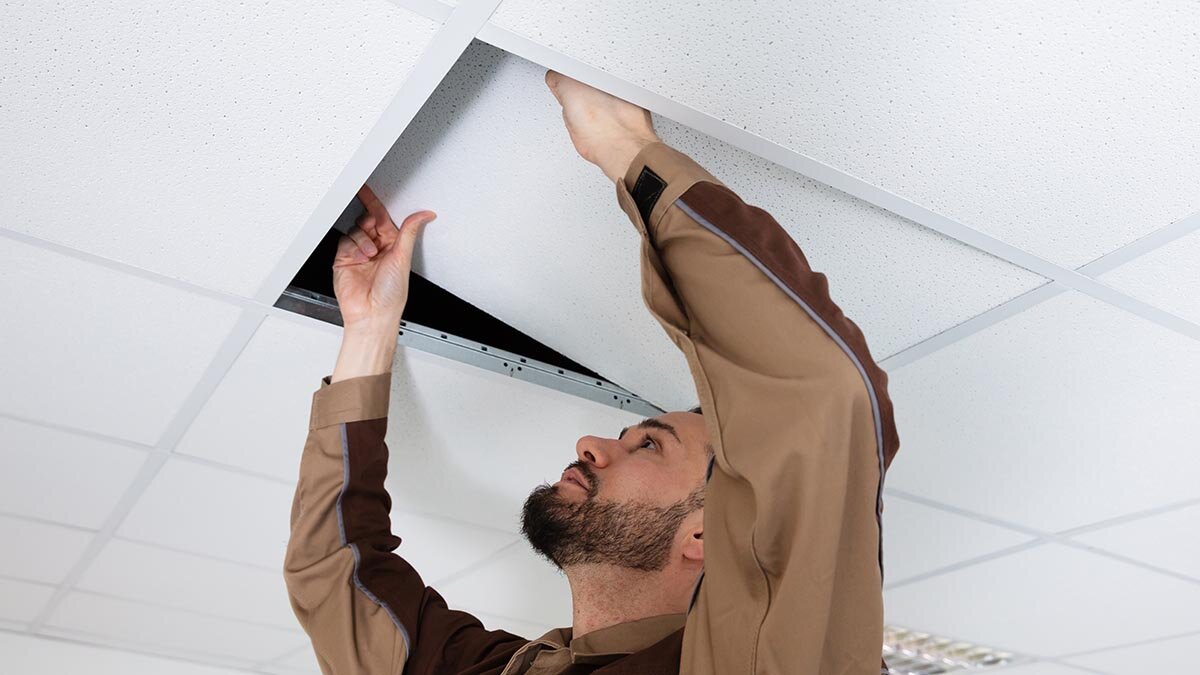
Next, gently push each tile upward and tilt it through the suspension system to remove it completely. Finally, install the replacement tiles by following this process in reverse, lifting the new tiles above the open space and tilting to align them with the channels of the ceiling grid.
5. Clean Up Your Workspace and Inspect the Adjacent Tiles
Dispose of any broken or damaged tiles immediately after removing them. Don't forget to thoroughly clean your workspace and tools, especially if hazardous materials are present. By properly preparing the space for tile removal and replacement ahead of time, you can prevent issues from arising later in the process. Clean up any remaining dust or debris and inspect the surrounding tiles to ensure they are still in good condition.
* * *
Replacing a ceiling tile in a suspended (drop) ceiling or interlocking system doesn't have to be a headache for your small business. Rather than letting a damaged tile affect the professional appearance of your space (or even lead to further damage), you can take care of the issue now with these simple steps.
Shopping for replacement ceiling tiles, dust masks, safety goggles, and other tools for your repair projects? Find everything you need to get the job done at Zoro.com!
Product Compliance and Suitability
The product statements contained in this guide are intended for general informational purposes only. Such product statements do not constitute a product recommendation or representation as to the appropriateness, accuracy, completeness, correctness, or currentness of the information provided. Information provided in this guide does not replace the use by you of any manufacturer instructions, technical product manual, or other professional resource or adviser available to you. Always read, understand, and follow all manufacturer instructions.