How to Select and Replace an Intermatic Timer Motor
Here is everything you need to know about timer motors and how and when to replace your timer motor.
If your Intermatic timer has failed, we’ll help you determine if the motor needs replacing, which could save you from having to replace the entire unit. If you do need a new timer motor, we’ll help you select a suitable timer motor replacement.
Note: This guide is designed to assist you in selecting and replacing a motor specifically for Intermatic timers. Keep in mind that while other timer brands may use a similar procedure, the parts won’t be interchangeable.
Step #1: Check the Power
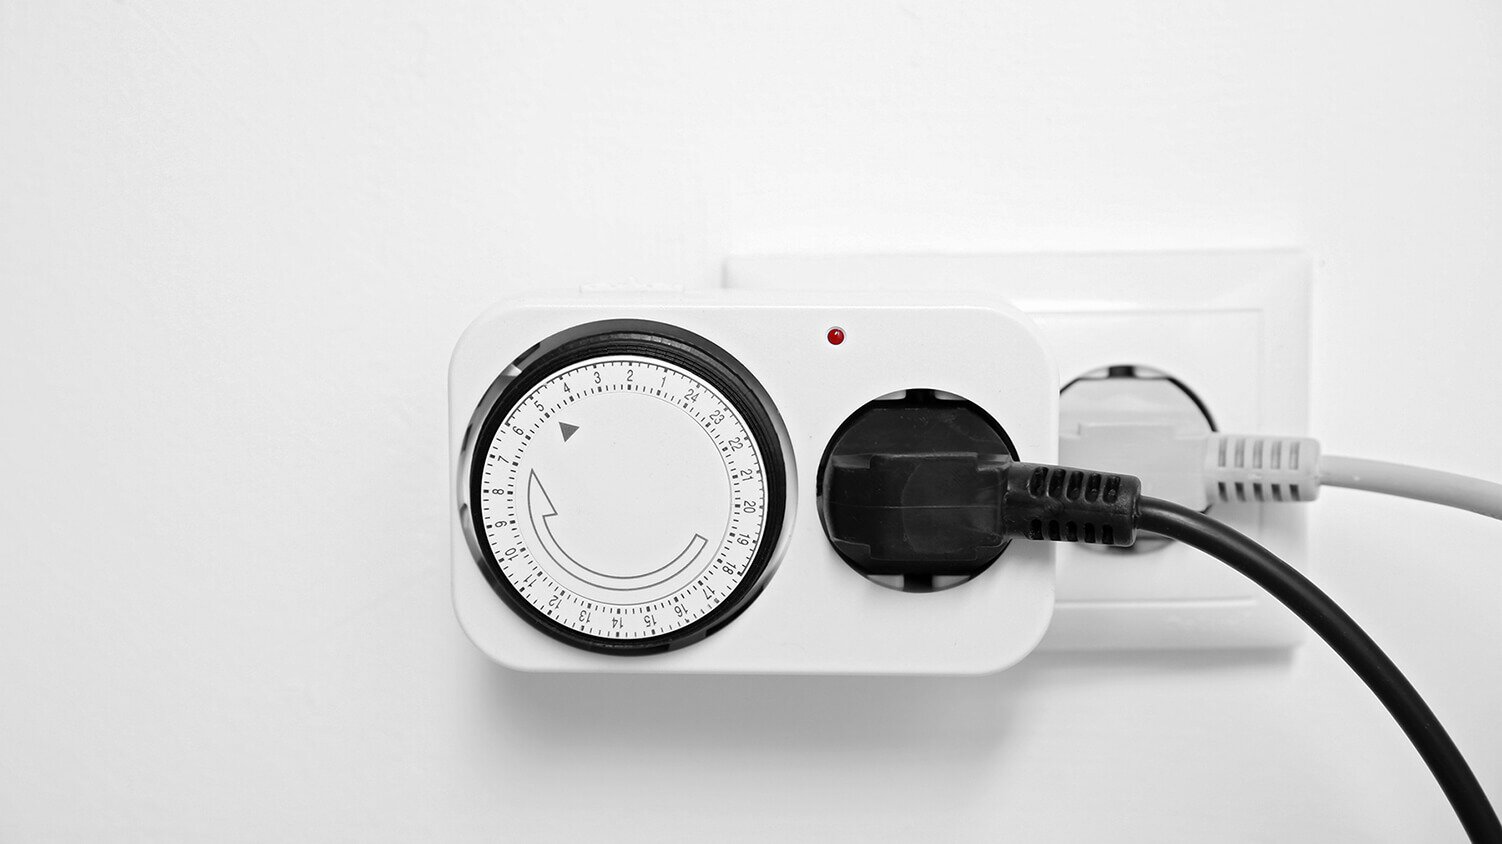
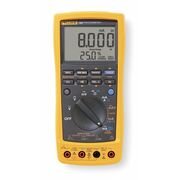
This one’s pretty straightforward, but it never hurts to check. Make sure that the timer’s clock motor is powered by ensuring that the circuit breaker is on or by testing it with a multimeter.
|
|
|
Step #2: Check the Timer Motor
Once power is applied to your Intermatic timer, you should be able to check the motor’s operation by looking through the small window in the top right corner of the time wheel. You should be able to see through to the timer motor and gears. If these pieces are moving, your motor is working and isn’t the cause of your timer issues. If these components are not moving, however, you may need a new timer motor.
Step #3: Determine the Motor Number
If you’ve determined that your Intermatic timer motor needs to be replaced, the next step is to figure out the proper motor number for your replacement part.
After disconnecting the power, remove the timer mechanism from the case by depressing the retainer clip, then tilt the mechanism forward. It will slide up, allowing for removal. For easier removal, you may want to remove any wires from the timer first, but be sure to mark them with the right terminal numbers for re-installation.
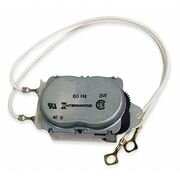
The timer motor is located on the back of the mechanism, held in place by a few screws. Usually, two wires run from the motor around to the front terminals for power. Remove these wires, then remove the motor.
You’ll find the part number on the back of the motor, usually beginning with “WG” or “CW”. There may also be a dash and suffix following this number, but this is not important for selecting the right replacement. Use this number to shop for the right replacement motor, and keep in mind that using any other model number may result in unexpected issues.
Step #4: Replace the Timer Motor
Once you’ve purchased the right replacement timer motor, you can simply perform the tasks from Step #3 in reverse order to install the replacement. After replacing the motor, make sure to reconnect the power and test the timer to determine if it’s operational.
Replacing your timer motor instead of your entire timer can save you both time and money. While you’re at it, don’t forget to shop Zoro’s full selection of timers and timer accessories.
Product Compliance and Suitability
The product statements contained in this guide are intended for general informational purposes only. Such product statements do not constitute a product recommendation or representation as to the appropriateness, accuracy, completeness, correctness or currentness of the information provided. Information provided in this guide does not replace the use by you of any manufacturer instructions, technical product manual, or other professional resource or adviser available to you. Always read, understand and follow all manufacturer instructions.