How to Use Heat-Shrink Tubing
First developed in the 1950s and 1960s by a renowned chemical engineer who discovered a widely practical way to utilize radiation chemistry after World War II, heat-shrink tubing works exactly as its name suggests: When put in contact with a heat source such as a heat gun, the polymers in these plastics shrink down to provide insulation and other benefits to all manner of electrical wire and cable connections.
From the wiring in your car to the complex systems used to power airplanes and military equipment, heat-shrink tubing is available in a wide variety of colors and can be found nearly everywhere. Some people even swear by it for simple household hacks, like fixing broken eyeglasses, protecting delicate headphone cables from cracking, or labeling the wires in home theater systems.
Here are just some of the practical uses for heat-shrink tubing:
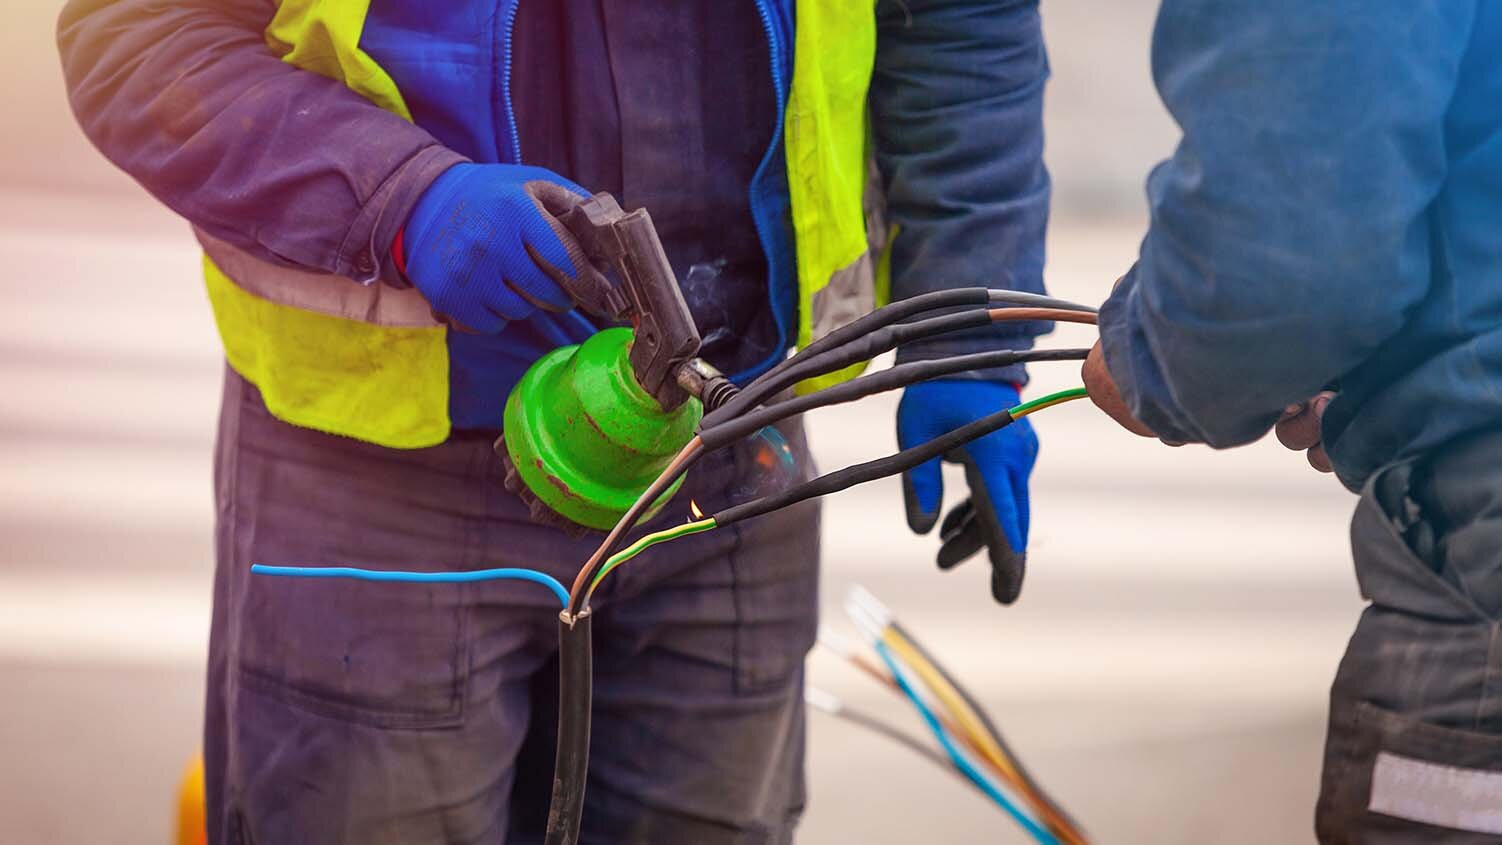
- To connect an assortment of wires together
- To insulate cables and wires from heat or cold
- To serve as a protective layer between wires and corrosive chemicals, dust, and other materials
- To seal cable splices against water
- To provide color coding to better identify individual cables within a group
Unlike other forms of plastic, heat-shrink tubing is made from a variety of different thermoplastics that become pliable at certain temperatures and then solidify after cooling. Some of these materials include:
- Polyolefin, the most common type of heat-shrink tubing, which is often found in military and aerospace uses because of its flexibility and ability to shrink down fast.
- Polyvinyl chloride (PVC), which is generally lower in cost than many other types of tubing.
- Polytetrafluoroethylene (PTFE), which is known for its resistance to certain chemicals.
- Polyvinylidene fluoride (PVDF), which can typically withstand high temperatures.
- Elastomeric, known for its flexibility at extremely low temperatures.
These materials shrink due to a process called cross-linking, which uses radiation electron beams to alter their molecular structure and create what’s known as “plastic memory” within the material itself. The polymers are cross-linked and stretched into a larger shape by heating the tube to just above the polymer’s crystalline or basic structural melting point, then cooling it rapidly. Later, when heated again, the piece of plastic automatically shrinks back down to its original size and dimensions.
Sometimes, an additional conductive polymer film is utilized with heat-shrink tubing to facilitate an electrical connection between two wires, allowing them to conduct energy without the need to solder the wires together first.
Classifications
When working with heat-shrink tubing, it’s important to know that not all of them are alike. There are specific classifications based on each piece of tubing’s shrink ratio. This ratio details the dimensions that the tubing will shrink when compared with its original, expanded size at purchase.
When shopping for tubing for your particular project, keep in mind that there is a huge variety of shrink ratios available, from extremely thin for small wiring to larger heavy-duty tubing.
If you purchase heat-shrink tubing that is labeled as “2:1”, that means the piece of plastic is twice the size of what it will shrink down to when heat is applied. Similarly, a tubing marked “4:1” will shrink down to one-quarter of its size.
Shrinking It Down: How to Apply Heat
Using heat-shrink tubing is relatively easy. Start by choosing the length of tubing needed—it is often sold in pre-cut lengths or you can cut the tubing to a custom length. Then, fit the unshrunk piece of plastic tubing over the wire you plan to seal. You want a tight fit, so if the tube won’t slide easily you can use a small amount of silicone lubricant to help move it along.
You have multiple options in terms of what heat source is used to cause the plastic to shrink. In most cases, an even shrinkage is desired across the length of the tubing. A hot air gun or heating in an oven are the most consistent methods and provide the most even end product.
Under the proper attention, other methods including a soldering iron or even a household lighter held closely but not touching the tube can achieve a suitable effect. (Be sure to move the heat source back and forth slowly and evenly until the tubing shrinks down to fit.) However, because these forms of uncontrolled heat can cause the plastic to shrink unevenly or negatively impact the seal or insulation of the tubing, most suppliers do not recommend using these methods.
A small electric space heater is another slower but potentially more even method if a heat gun or oven is not available. But no matter what method is used, heat-shrink tubing can melt or catch fire if overheated, so extreme care should always be taken when applying heat.
Product Compliance and Suitability
The product statements contained in this guide are intended for general informational purposes only. Such product statements do not constitute a product recommendation or representation as to the appropriateness, accuracy, completeness, correctness or currentness of the information provided. Information provided in this guide does not replace the use by you of any manufacturer instructions, technical product manual, or other professional resource or adviser available to you. Always read, understand and follow all manufacturer instructions.