Professional Wallpaper Removal Tools Guide
If your business removes wallpaper as part of commercial renovation, you’ll want tools designed for efficiency and durability. Professionals typically rely on wallpaper steamers, scraper tools, and industrial adhesive removers, choosing steam, chemical, or hybrid methods depending on the wallpaper type and adhesive strength.
Why Professionals Focus on the Tools and Techniques
When you’re removing wallpaper in a commercial or industrial space, the goal is to create a clean, even surface for whatever comes next. A smooth wall helps your team stay on schedule during painting, panel installation, or resurfacing. The challenge is that wallpaper behaves differently based on how it was installed, how long it’s been in place, and what kind of adhesive was used.
Peelable wallpaper may release quickly, while vinyl or older materials may need moisture, heat, or industrial adhesive remover. Understanding these variables helps your crew choose tools that reduce labor time and minimize wall damage.
Professional Wallpaper Removal Tools to Have on Hand
Wallpaper Steamer
A wallpaper steamer uses heat and moisture to soften adhesive so the paper lifts more easily. It’s a practical option for large commercial spaces or older installations where adhesive has hardened over time. Many businesses rent or invest in steamers depending on how frequently they take on renovation projects.
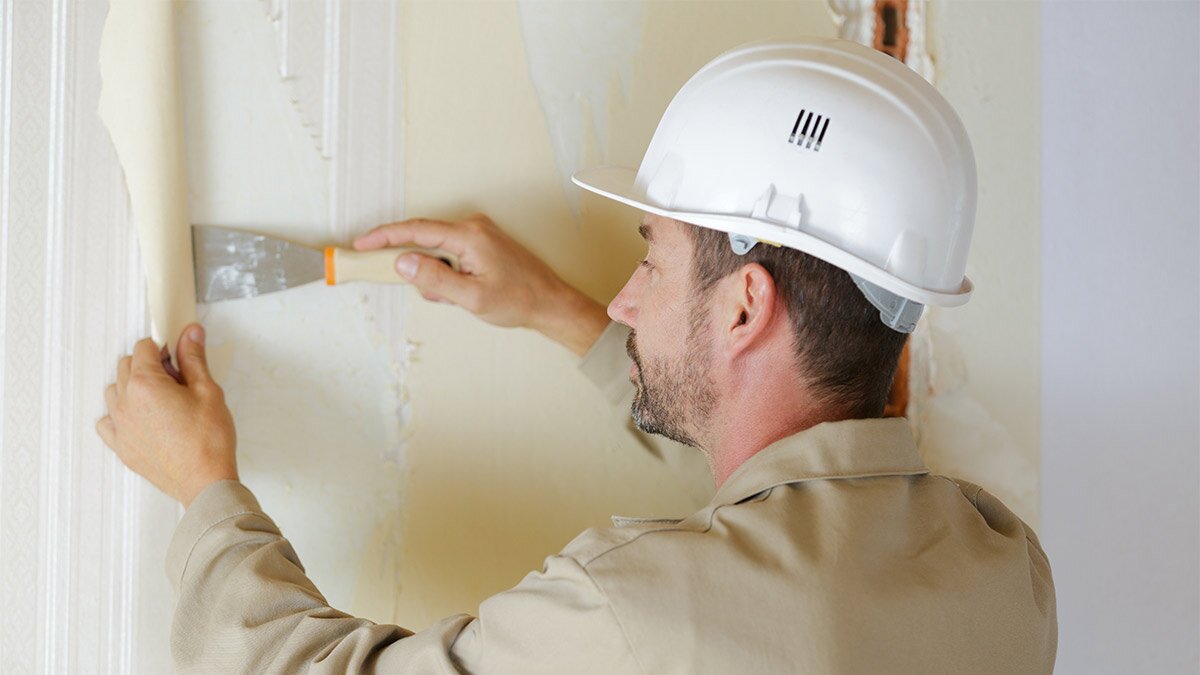
Scraper Tools
Scraper tools, such as putty knives and razor scrapers, help lift paper and loosen adhesive once the bond begins breaking down.
- Putty knives cover wider sections.
- Razor scrapers help with tougher adhesive spots or tighter areas.
Keeping a mix of scraper tools allows crews to handle varied wall conditions efficiently.
Industrial Adhesive Remover
If wallpaper was installed with strong or industrial-grade adhesive, a chemical remover can help break the bond. These chemical removers are designed for heavy-duty applications. Crews should follow ventilation, PPE, and disposal requirements to stay compliant on job sites.
Scoring Tool
For wallpaper that resists steam or moisture, a scoring tool creates tiny perforations so the steamer or adhesive remover can penetrate.
Renovation Accessories
Once the wallpaper is removed, these accessories help your team prep the wall for paint or new coverings.
- Drop cloths
- Extension poles
- Sanding tools
- Patching materials
Residue Remover
After wallpaper comes off, leftover adhesive can interfere with finishes. A residue remover helps create a clean, even surface.
Steam vs. Chemical Wallpaper Removal
One of the most common questions professionals ask is whether steam or chemical removal works better. The answer depends on the adhesive, wall condition, and project scope.
| Method | When Pros Use It | Basic Procedure | Advantages |
| Steam (Wallpaper Steamer) | Standard adhesives; walls that tolerate moisture/heat | Score surface if needed, apply steam 10–30 seconds, scrape | Low chemical use; effective for large areas |
| Chemical (Adhesive Remover) | Heavy-duty or industrial adhesives; moisture-sensitive substrates | Apply remover, allow dwell time, scrape, clean residue | Penetrates strong adhesive; low moisture |
| Hybrid (Steam + Chemical) | Mixed conditions or stubborn patches | Steam first; apply remover for tough spots | Flexible, effective for varied adhesive strengths |
How to Choose Tools for Your Professional Workflow
Assess the Job Early
Identify the wallpaper type (peelable, strippable, vinyl), adhesive condition, and wall substrate. A simple corner test with a putty knife can be your guide.
For High-Volume Renovation
Commercial buildings with multiple rooms often benefit from the speed gained by using a wallpaper steamer.
For Industrial Adhesive
If your project involves strong adhesive, choose a remover rated for industrial use. Renting high-capacity equipment may be appropriate if usage is occasional.
Crew Usability and Safety
Choose tools designed for repeated use. Ensure training covers steam, chemical safety, PPE, and ventilation requirements.
Prep for the Next Phase
Once the wallpaper is removed, your team will need to patch, repair, and clean the surface to support the next finish. Tools that minimize wall damage can help reduce downtime between removal and refinishing.
Step-by-Step Workflow for Professional Wallpaper and Adhesive Removal
This process can help your team maintain consistency across commercial jobs.
1. Assess the Wall
Check wallpaper type, adhesive strength, and substrate condition. Decide whether steam, chemical, or hybrid removal makes sense.
2. Prep the Workspace
Remove switch plates, move furniture, cover floors, and ensure proper ventilation.
3. Apply the Removal Method
- Steam: Score the surface, apply steam in manageable sections, scrape.
- Chemical: Apply adhesive remover as instructed, allow dwell time, scrape.
4. Remove Adhesive Residue
Use scraper tools and residue remover as needed. Repeat steam or chemical treatment for stubborn areas.
5. Repair and Prep
Patch gouges, smooth surfaces, and allow walls to dry fully before applying a finish. Many teams allow at least 24 hours of drying after moisture exposure.
6. Dispose of Waste
Collect wallpaper, adhesive waste, and chemical containers. Follow local guidelines for disposal or hazardous waste handling.
7. Move Into the Next Phase
Once the wall is dry and repaired, crews can move into painting, resurfacing, or installing new coverings.
Final Thoughts
Wallpaper removal can be a predictable step in your workflow when your crew has tools built for professional use. Whether you rely on a wallpaper steamer, scraper tools, or industrial adhesive remover, choosing equipment that fits the job helps you support your schedule and keep projects moving. When your team feels prepared and equipped, the work tends to go smoother from start to finish. Explore Zoro.com for renovation tools and supplies that fit the way your business works.
Product Compliance and Suitability
The statements contained in this guide are intended for general informational purposes only. Such statements do not constitute a product recommendation or representation as to the appropriateness, accuracy, completeness, correctness, or currentness of the information provided. Information provided in this guide does not replace the use by you of any manufacturer instructions, technical product manual, or other professional resource or adviser available to you. Always read, understand, and follow all manufacturer instructions. Portions of this article were generated in part by ChatGPT, and edited by a member of the Zoro team.