Tapcon Screw Size Chart
Tapcon size chart: Drill bit & screw lengths for 3/16" and 1/4" anchors.
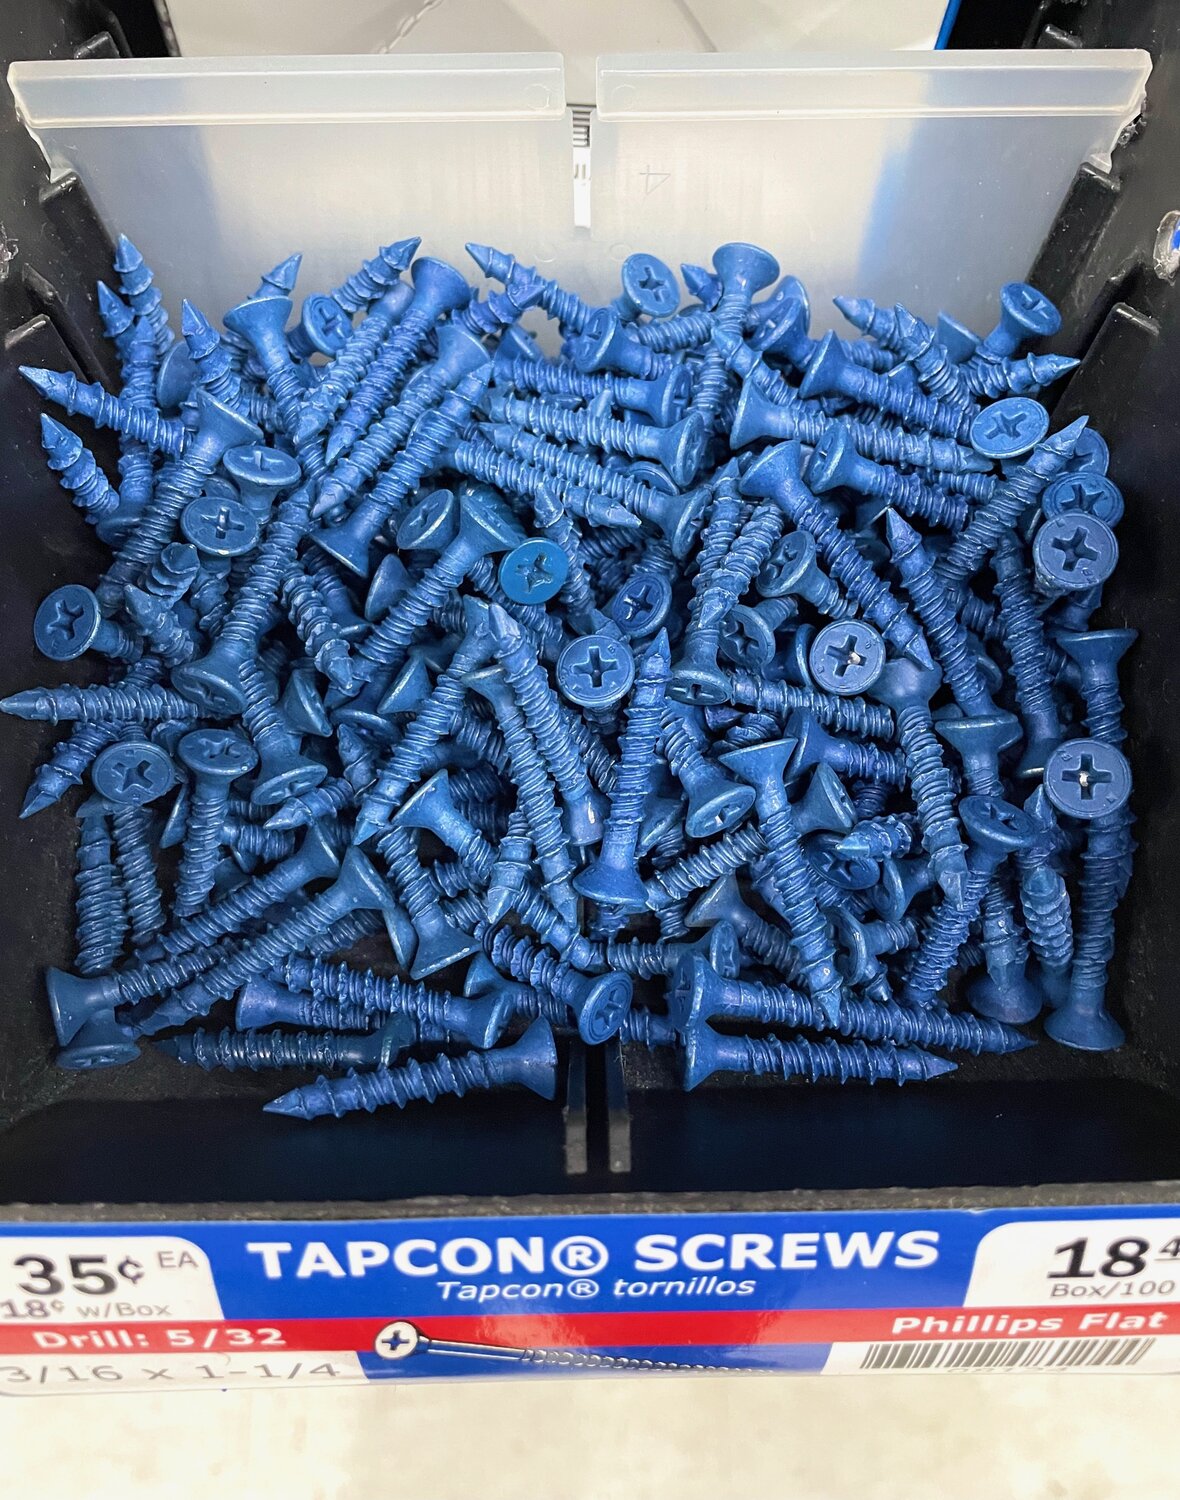
Tapcon Screw Size Chart: A Masonry Guide
In the world of commercial construction and industrial maintenance, anchoring to concrete, block, or brick requires a fastener that can withstand shear forces and tension without the need for expansion shields or lead anchors. The Tapcon® brand concrete screw revolutionized this process with its "blue screw" technology—a self-tapping masonry screw that cuts its own threads into the substrate.
This guide breaks down the essential Tapcon screw size charts, drill bit correlations, and installation variables.
Standard Tapcon Screw Size Specifications (3/16" and 1/4")
| Screw Diameter | Head Type | Drive Size | Drill Bit | Min. Embedment | Find on Zoro |
|---|---|---|---|---|---|
| 3/16" | Hex Washer | 1/4" Hex | 5/32" | 1" | View 3/16" Hex |
| 3/16" | Flat Head | #2 Phillips | 5/32" | 1" | View 3/16" Flat |
| 1/4" | Hex Washer | 5/16" Hex | 3/16" | 1" | View 1/4" Hex |
| 1/4" | Flat Head | #3 Phillips | 3/16" | 1" | View 1/4" Flat |
Large Diameter Tapcon Screw Size (LDT) Specifications
| Screw Diameter | Required Drill Bit | Min. Embedment | Max. Embedment | Find on Zoro |
|---|---|---|---|---|
| 5/16" | 1/4" Masonry Bit | 1-1/2" | 3" | View 5/16" LDT |
| 3/8" | 5/16" Masonry Bit | 1-1/2" | 4" | View 3/8" LDT |
| 1/2" | 7/16" Masonry Bit | 2-1/2" | 5" | View 1/2" LDT |
The Engineering Behind the "Blue Screw"
Tapcon screws utilize a high-low thread design. The alternating heights of the threads allow the screw to pull dust away from the tip while the lead threads cut deeply into the masonry. Because concrete is non-compressible, the screw requires a perfectly sized pilot hole to ensure there is enough room for the threads to engage without the shank snapping due to excessive torque.
Critical Note on Drill Bits
Tapcon screws must be used with the specific masonry bits provided in the packaging or matched to the brand's tolerances. A standard 5/32" drill bit from a generic kit may vary by a few thousandths of an inch, which is enough to cause a Tapcon to spin out (if the hole is too large) or snap (if the hole is too tight).
Calculating Hole Depth and Embedment
One of the most common failures in masonry fastening is "bottoming out." If the hole is not drilled deep enough, the screw will hit the compressed dust at the bottom before the head is flush with the fixture.
The "Plus-Quarter" Rule
For standard 3/16" and 1/4" screws, always drill the hole 1/4" to 1/2" deeper than the screw will actually penetrate. This creates a "dust reservoir" at the bottom of the hole.
Minimum Embedment Requirements
To achieve the load capacities listed in engineering data sheets, the screw must be embedded a minimum of 1 inch into the base material. For Large Diameter Tapcons, this minimum increases to ensure the threads have enough surface area to resist pull-out forces.
Material and Coating Specifications
- Blue Climaseal®: The standard coating. It provides excellent salt-spray resistance and is suitable for most exterior commercial applications.
- 410 Stainless Steel: Used in highly corrosive environments like wastewater treatment plants, coastal structures, or where chemical exposure is expected.
- White/Silver (Ultrashield): Often used in aesthetically sensitive areas or where the fastener must match white trim or metal tracking.
Installation Protocols
1. Clean the Hole
After drilling with a hammer drill, use a blow-out bulb or compressed air to remove the concrete dust. Even with the "dust reservoir," excessive slurry can increase friction and cause the screw to shear during installation.
2. Avoid Over-Torquing
Tapcons should be driven until the head is firm against the fixture. In commercial settings, using a high-torque impact wrench on small 3/16" screws is a recipe for disaster. Use a clutch-driven drill/driver to avoid stripping the threads you just cut into the concrete.
3. Edge Distance and Spacing
In structural masonry, you cannot place anchors too close together or too close to the edge of the slab.
- Edge Distance: Keep the screw at least 5x the diameter away from any edge.
Spacing: Keep screws at least 10x the diameter away from each other to prevent "stress cones" in the concrete from overlapping and weakening the substrate.
Product Compliance and Suitability
The statements contained in this guide are intended for general informational purposes only. Such statements do not constitute a product recommendation or representation as to the appropriateness, accuracy, completeness, correctness, or currentness of the information provided. Information provided in this guide does not replace the use by you of any manufacturer instructions, technical product manual, or other professional resource or adviser available to you. Always read, understand, and follow all manufacturer instructions. Portions of this article were generated in part by ChatGPT.