How to Clean a Coolant Tank: A Step-by-Step Guide for Fleet Owners
Keeping your fleet on the road starts with taking care of the systems that keep your engines running cool. Dirty or neglected coolant tanks can shorten engine life, cause overheating, and even lead to costly downtime. The good news? Cleaning and maintaining your coolant reservoirs is straightforward, and with the right approach, you can do it yourself and keep your vehicles operating efficiently.
Why Coolant Reservoirs Matter in Your Fleet
Every vehicle in your fleet relies on its coolant reservoir (also called an overflow tank) to manage engine temperature safely. When the engine heats up, the radiator cap opens slightly, letting expanding coolant flow into the reservoir. Once the engine cools, the coolant gets pulled back into the radiator. Without that expansion tank, excess coolant would spill out, and air could get trapped inside the system. That air bubble can block coolant flow, causing uneven cooling, pressure issues, and potential engine damage. Keeping each reservoir clean and in good shape helps your vehicles run smoothly and prevents unnecessary repairs.
When to Inspect or Clean Coolant Reservoirs
Regular inspections can help you catch small issues before they become big problems. Take a look at your coolant levels both when the engine is hot and when it’s cool.
If you notice any of the following, it’s time to drain and clean the system.
The coolant looks cloudy, rusty, or discolored.
There’s an oily film on the surface.
You see debris or sludge inside the reservoir.
It’s been more than 60,000 to 100,000 miles since the last change.
For fleets that run daily or operate in extreme temperatures, you may want to inspect and flush coolant systems more often to stay ahead of buildup.
Step by Step: How to Clean Your Fleet’s Coolant Tanks
Step 1: Gather the Tools You’ll Need
You don’t need a full shop setup to do this right. Before starting, grab:
A drain pan or approved disposal container
Cleaning brushes or scrapers
A coolant-safe cleaner or degreaser
Personal protective equipment (gloves, safety glasses, apron)
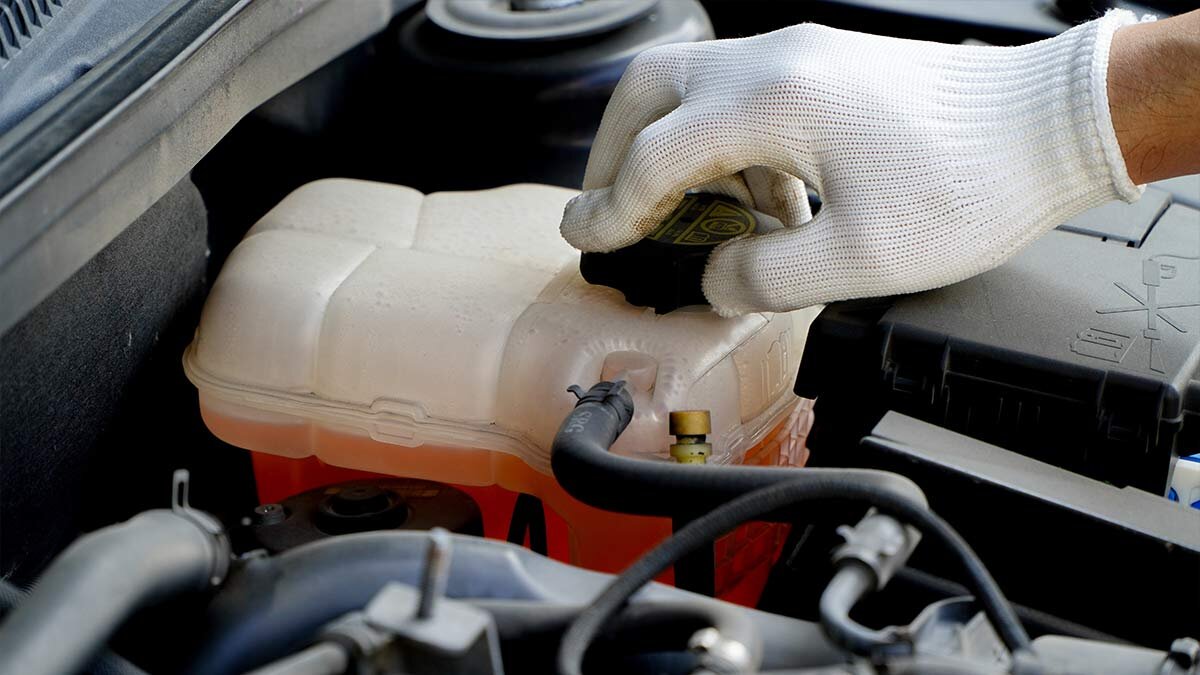
Step 2: Drain the Coolant Reservoir
Position a disposal container beneath the tank or radiator drain plug. Open the drain valve or remove the cap to release the old coolant completely. Always dispose of used coolant according to local environmental regulations.
Step 3: Flush the Cooling System
Flushing ensures that any remaining grime or contaminants are cleared before refilling.
Refill the radiator with water or a coolant-safe flush solution (such as BlueDevil Radiator Flush).
Run the vehicle with the heater on high for about 10 minutes for a light flush, or up to 6 hours for a deep clean if buildup is heavy.
Once the engine cools, drain and rinse the system with clean water until it runs clear.
Step 4: Scrub and Clean the Reservoir
Remove the coolant reservoir if possible, and scrub the inside thoroughly. Focus on sludge or residue at the bottom.
Pro tips:
Let cleaner soak on heavy deposits before scrubbing.
Use a soft brush to avoid scratching the plastic.
Rinse several times to make sure no cleaner or debris remains.
Step 5: Inspect, Dry, and Reinstall
Before putting everything back together, check for cracks, corrosion, or worn hoses. Dry the reservoir completely to prevent moisture buildup, then reattach it securely. Tighten all fittings and replace any damaged parts before refilling.
Step 6: Refill with Fresh Coolant
Refill each vehicle’s cooling system with the manufacturer’s recommended coolant mix. Use a refractometer or test kit to confirm the proper concentration.
Label the refill date for recordkeeping.
Use clean containers when mixing coolant to avoid cross-contamination.
Step 7: Maintain a Regular Schedule
Clean coolant systems are easier to maintain than neglected ones. Set a maintenance interval that matches your fleet’s workload and environment.
Test coolant weekly or biweekly.
Skim tramp oil as needed.
Record results and schedule full flushes regularly.
If any vehicle’s coolant smells sour, looks dirty, or causes irritation, it’s time to clean and refill again.
Final Thoughts
Keep your fleet in top shape with dependable tools and supplies from Zoro. From coolant system cleaners to safety gear, we’ve got what you need to handle maintenance confidently and keep every vehicle running strong.
Product Compliance and Suitability
The statements contained in this guide are intended for general informational purposes only. Such statements do not constitute a product recommendation or representation as to the appropriateness, accuracy, completeness, correctness, or currentness of the information provided. Information provided in this guide does not replace the use by you of any manufacturer instructions, technical product manual, or other professional resource or adviser available to you. Always read, understand, and follow all manufacturer instructions. Portions of this article were generated in part by ChatGPT, and edited by a member of the Zoro team.