How to Repair a Leaky Faucet
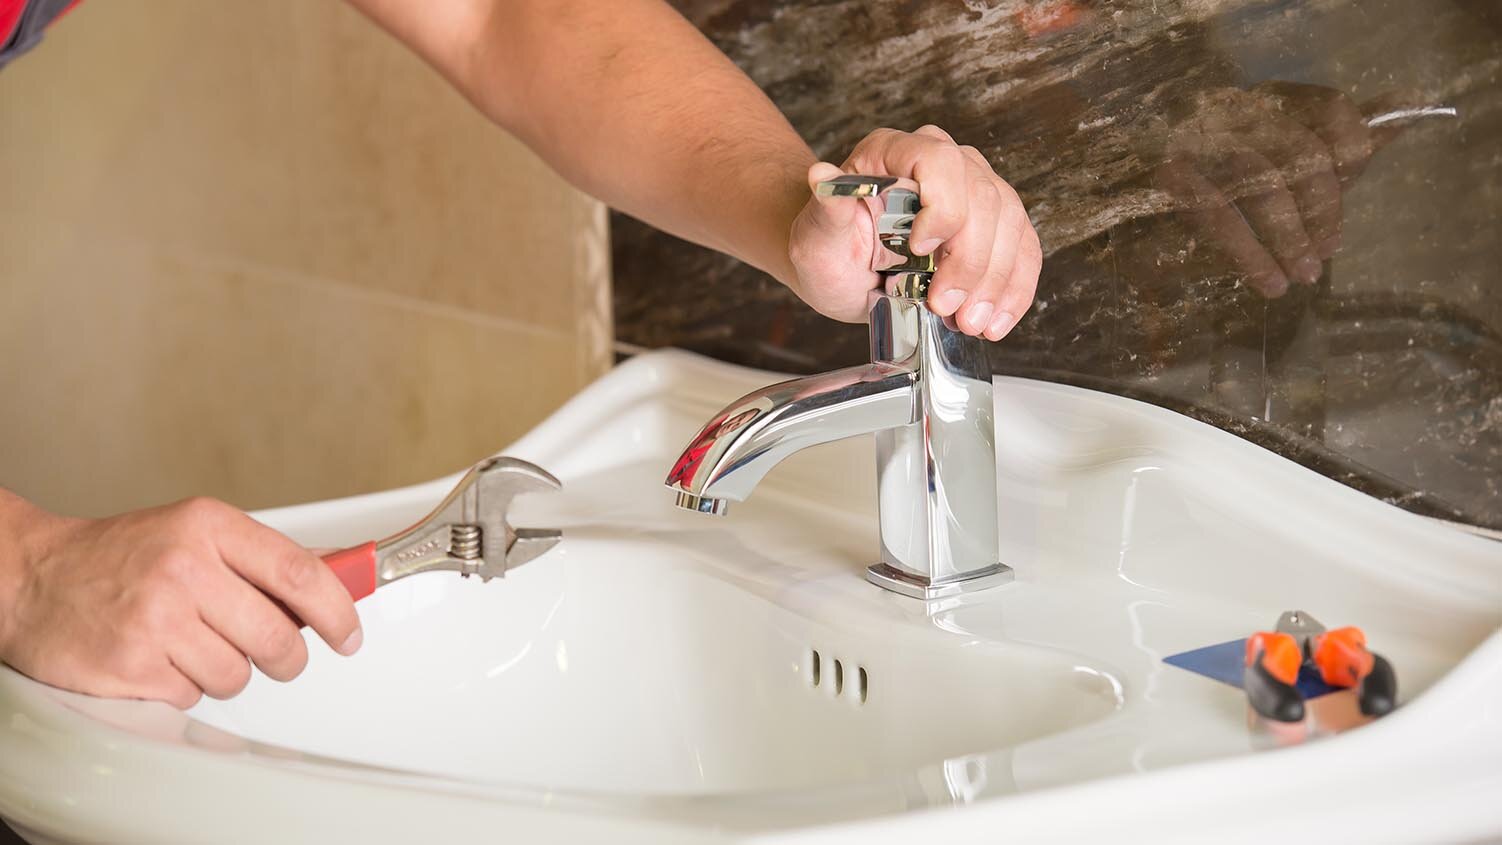
The repetitive sound of a leaky faucet isn't just annoying, it's also literally money down the drain as it leads to higher water bills, not to mention a lot of wasted water, and the potential water damage if left to continue.
Repairing and putting a stop to a leaky faucet isn't difficult if you know what type of faucet you're dealing with and follow a few simple steps. When done with this DIY project you'll undoubtedly be pleased with the results, while also preserving your sanity by eliminating the incessant dripping.
There are four primary sink faucets: compression, ball-type, ceramic cartridge, and ceramic disc. This article will examine what causes a faucet to leak and review steps in how to fix leaks in each type of faucet.
A faucet works by controlling the flow of water through the use of an inner cartridge or stem. Within the faucet body, there are neoprene or rubber washers that close and open against water inlet ports. When the seals don't properly fit, a small amount of water continues up to the faucet spout, producing the wasteful and annoying drip. Sealing failure is most often the result of the washers or seals having lost their resiliency, thereby simply failing to seal correctly. Leaking can also be caused by corroded seals or by some type of unwanted material inside the faucet body causing the seals to fit improperly.
Before you start fixing a leaky faucet, you'll want to do a few things to ensure a smooth repair. First, gather all the tools and faucet parts you'll need to do the job. Although your specific needs may vary, you'll likely need an adjustable wrench, channel-lock pliers, Allen wrenches, flathead and Phillips head screwdrivers, a heat-proof nontoxic plumber's grease, a spray penetrating oil such as WD-40, white vinegar, scouring pad, and replacement washers and seals. With all this assembled, turn off the water lines underneath the sink. If you can't turn the water off there, turn off the main water line feeding into the home or building. After doing this, turn the faucets on to "bleed" out any water that may still be in the lines. Also, it's a good idea to plug or somehow cover the drain opening to ensure nothing falls into it by mistake during the repair.
Repairing the 4 Types of Faucets
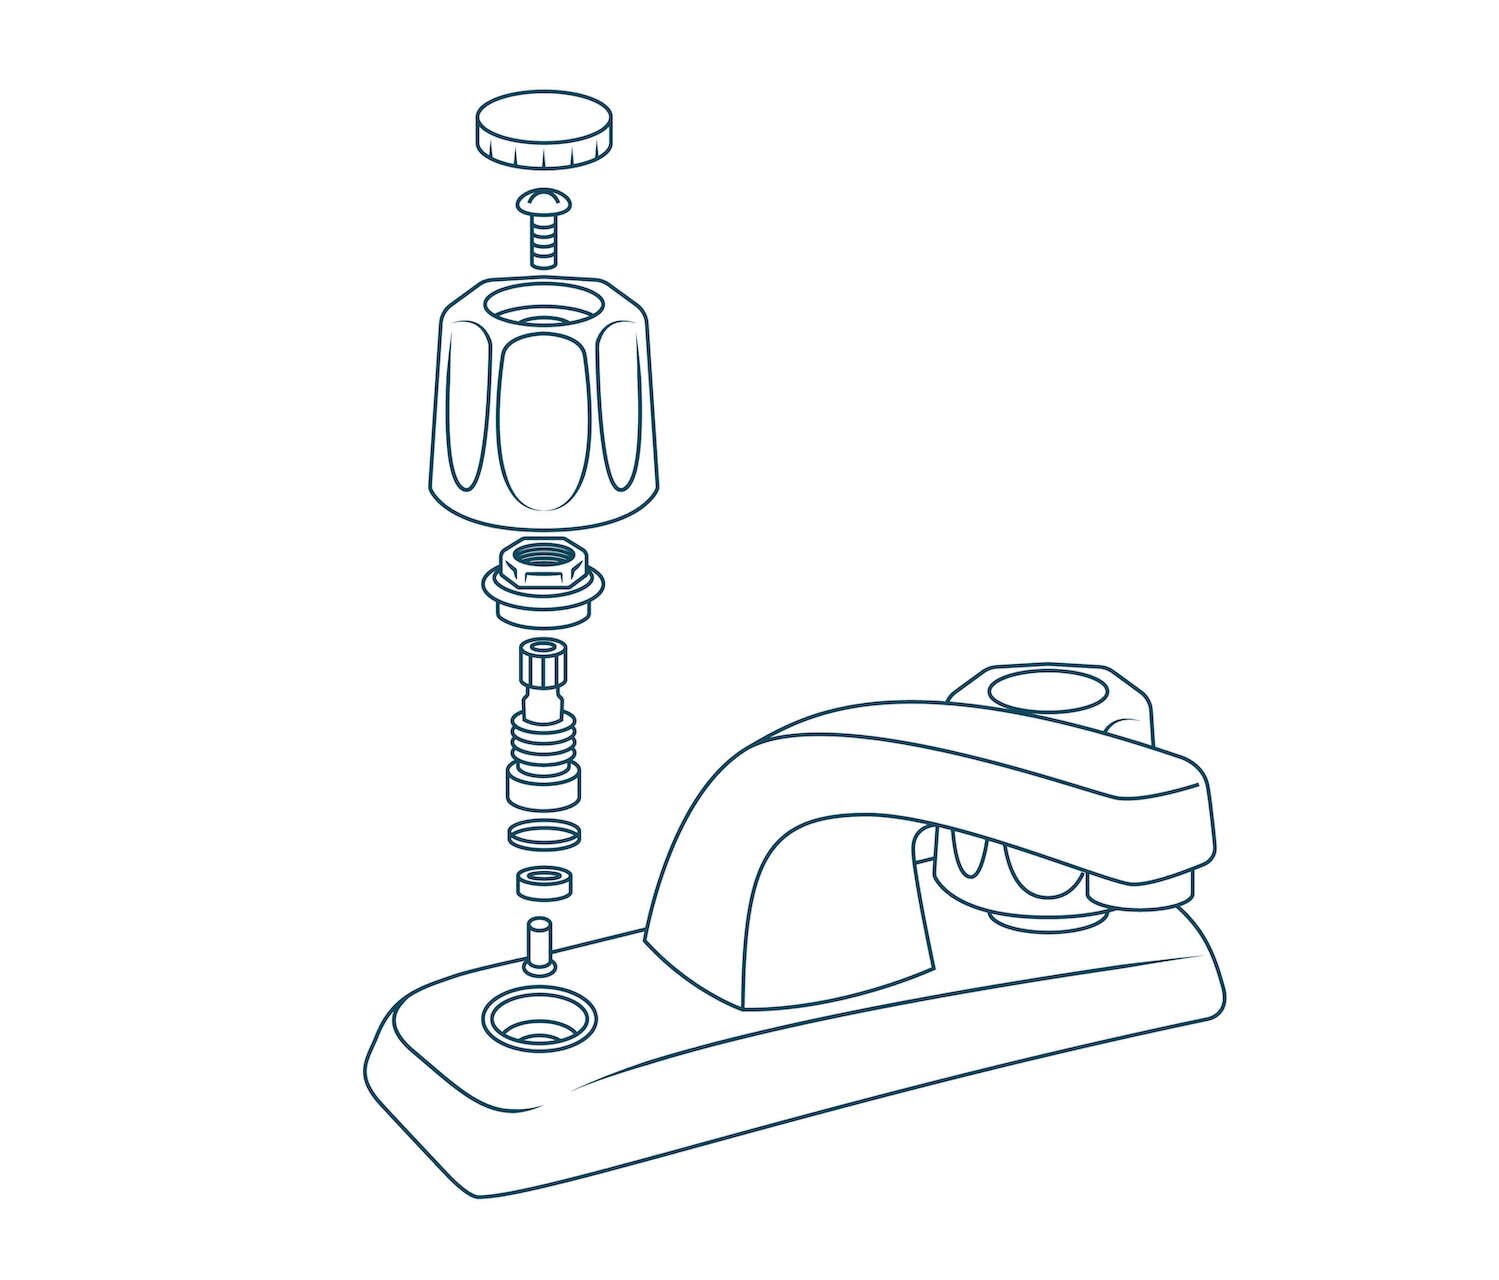
Compression faucets are recognizable by the typical handles on either side of the spout; the left is for hot water and the right is for cold. Becoming increasingly obsolete compared to the three other faucets, they usually require new seat washers to fix the leak. Begin by prying off the decorative cap on the handle and removing the handle screw. Next, pull the handle off, and use a crescent wrench to unscrew the packing nut. Once the stem is unscrewed, remove and replace the seat washer held in position by a brass screw. Now coat the washers with plumber's grease and then pop the stem out of the packing nut and replace the O-ring, which is the reason for leaky handles. O-rings vary in size, so be sure to correctly match the size for the faucet. Once coated with plumber's grease, set the new O-ring in place, reassemble the faucet, and tighten the packing nut.

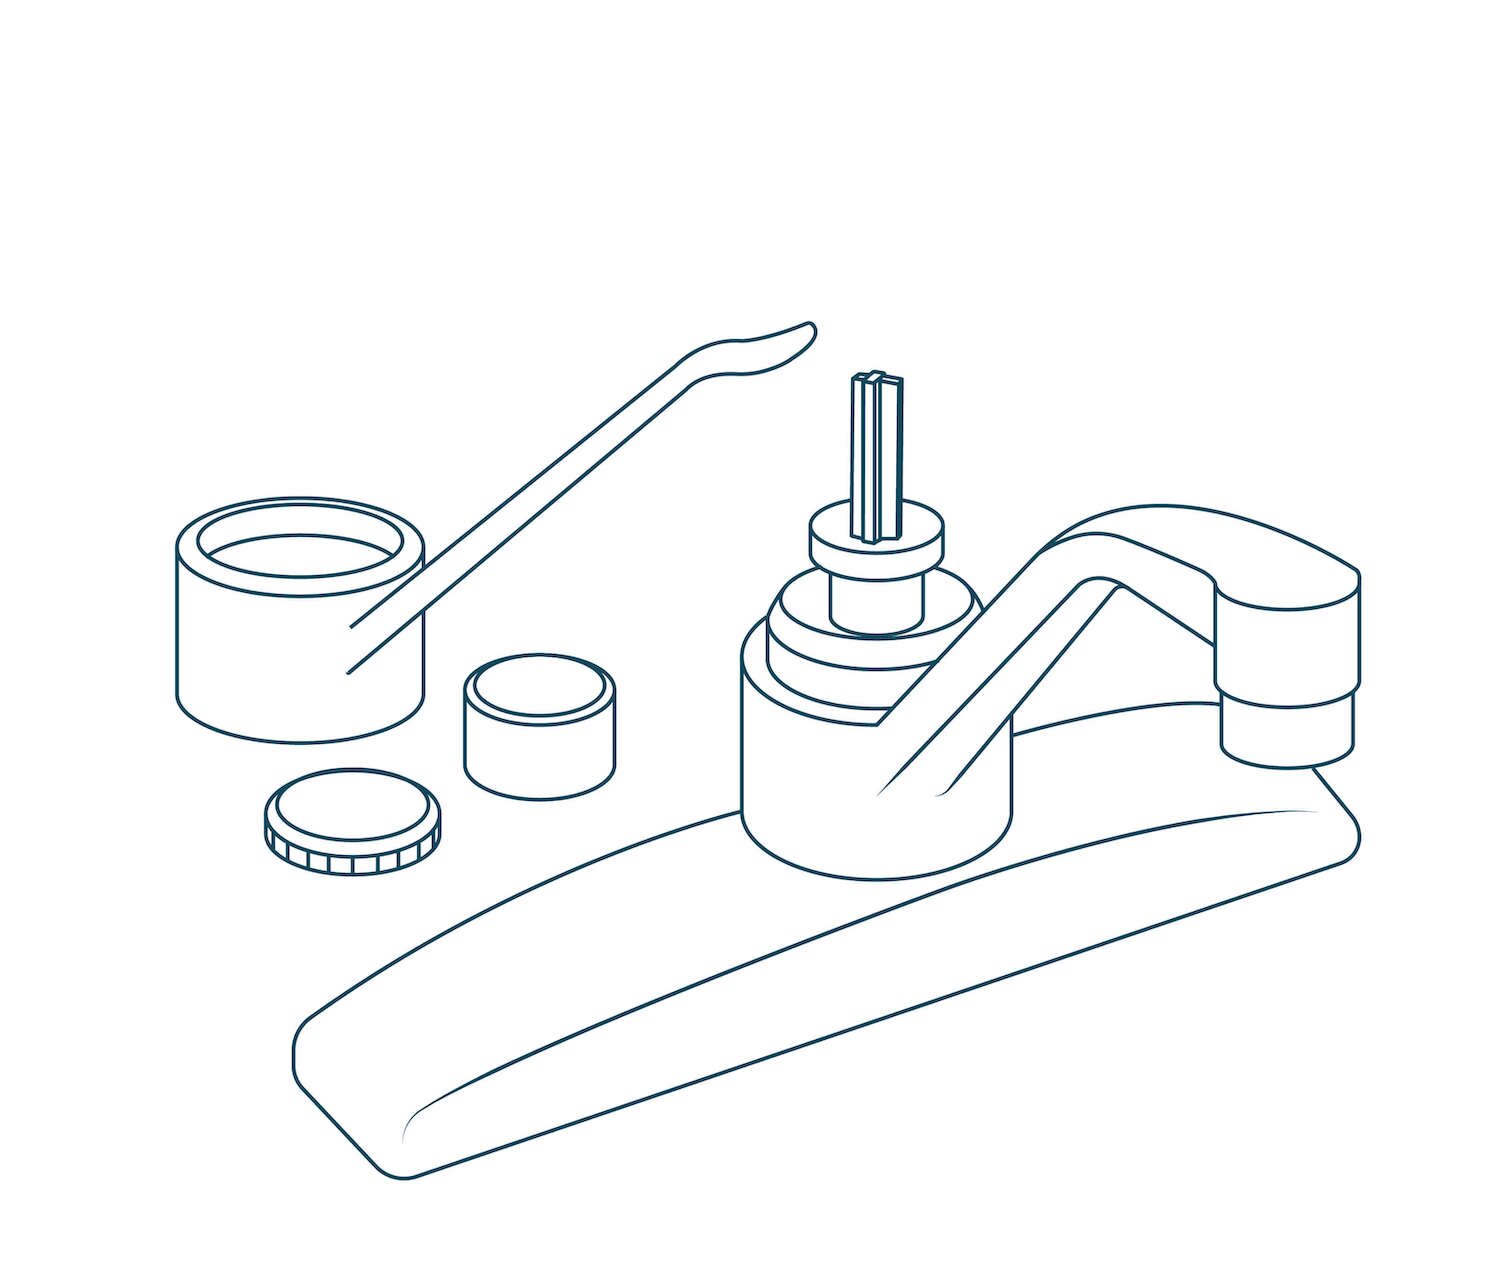
Ball-type faucets have a lot of parts, which makes it difficult to find the cause of the leak. Because of this, you're best off buying a replacement kit and installing all new parts. Start by removing the handle set screw and lifting off the handle. Using adjustable pliers, remove the cap and collar. Now use the special tool regularly included in the repair kit and loosen the faucet cam. Lift it out along with the cam washer and the rotating ball. Next, using needle-nose pliers, reach into the faucet body and remove the inlet seals and springs. Then cut off the O-rings, coat the new ones in plumber's grease and roll them into place. To finish the repair, install the new springs, valve seats, and cam washers as you reassemble the faucet.
Ceramic cartridge faucet repair starts with prying off the handle's decorative cap, removing the handle screw, tilting back the handle and then pulling it off. If a threaded retaining clip is holding the cartridge in place, remove it using needle-nose pliers. Now, pull the cartridge straight up. Next, remove the spout and, using a utility knife, cut off the old O-rings. Coat the new replacement O-rings with plumber's grease and then reassemble the unit.
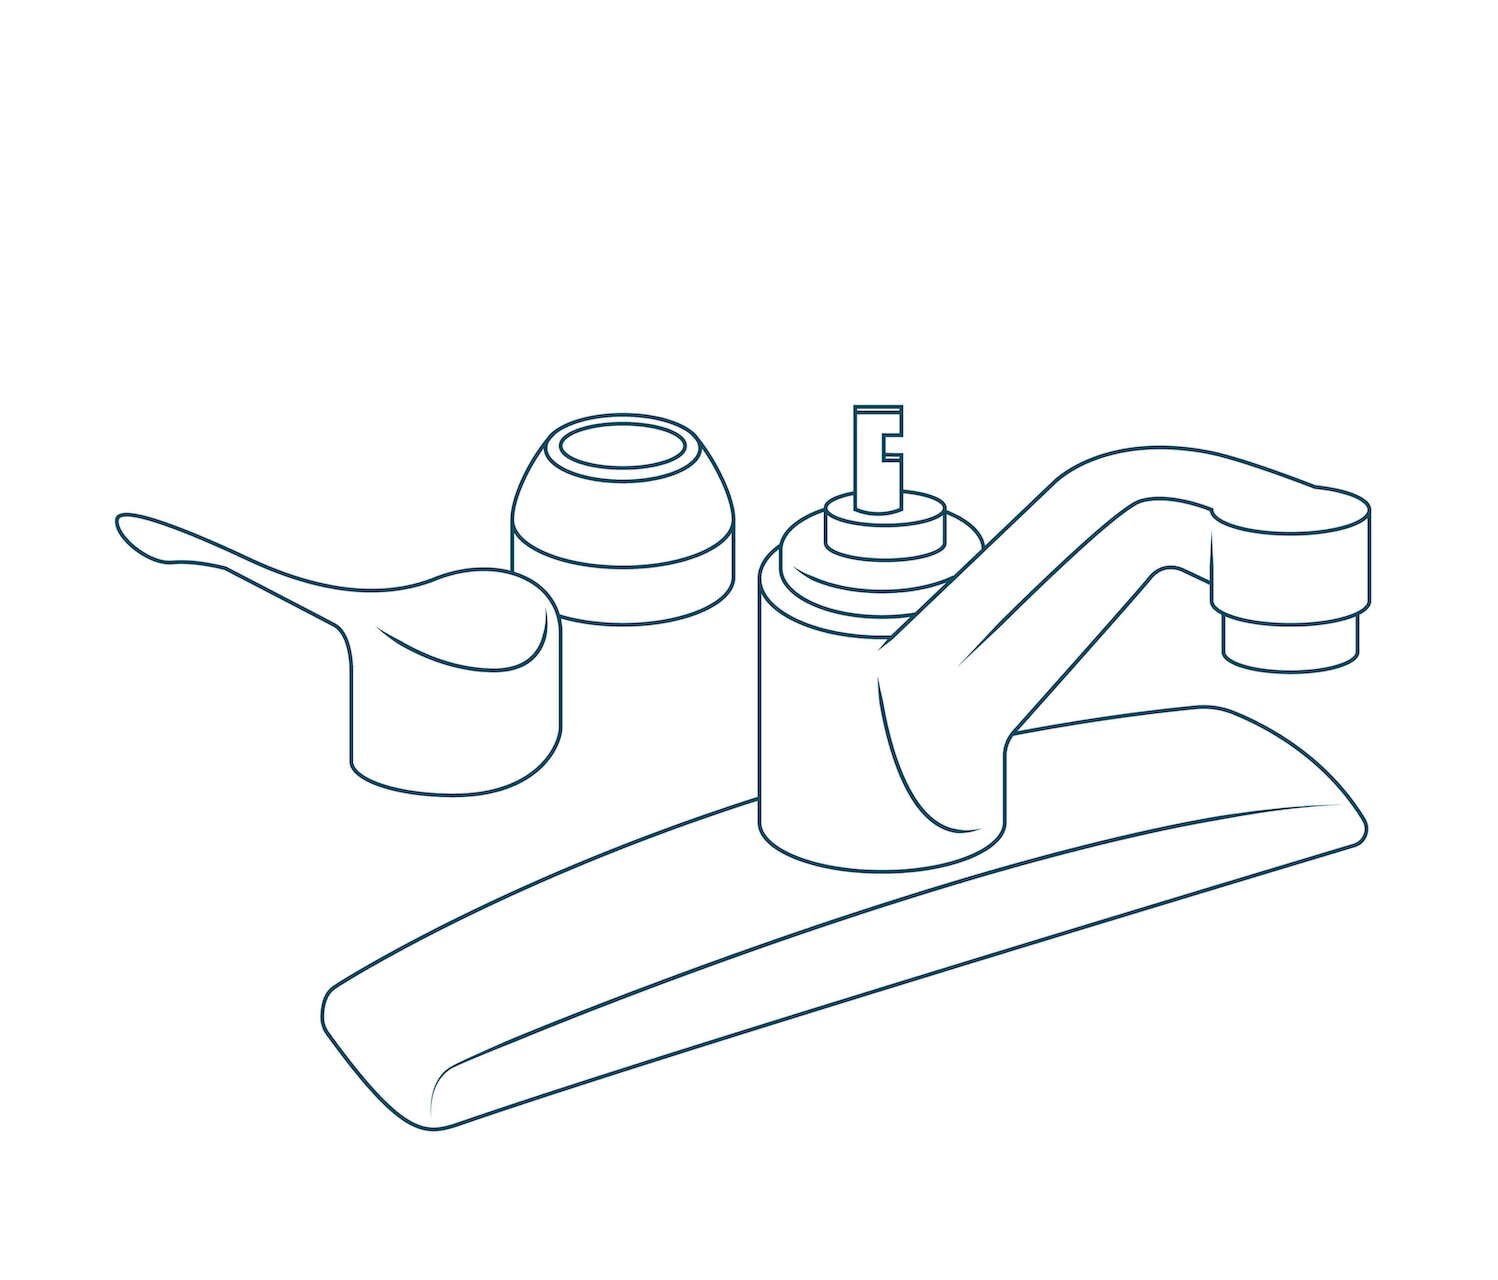
A ceramic disc faucet requires you to push the faucet handle back to access the set screw to get started. Remove this screw and then lift off the handle. Next, you'll remove the escutcheon cap and unscrew the disc cylinder mounting screws, which allows you to lift out the cylinder. Using a blunt-tipped tool such as a screwdriver, lift the neoprene seals out of the cylinder. If you notice that the seals are damaged, it's time to replace them. With the cylinders now accessible, use the distilled white vinegar and scouring pad and clean the cylinder openings. Rinse the cylinder clean of any vinegar residue, replace the seals, and reassemble the faucet. Finally, move the handle into the "On" position and slowly turn on the water. Do this carefully as the initial force of returning water within the faucet can cause a fracture in the ceramic disc.
Regardless of the faucet that needs repairing, you can fix it like a pro plumber with a little careful prepping and following a few simple steps.
As you remove any parts during the repair, set them aside in the order you removed them from the faucet. Make a mental note as to where they go to make it easier when it's time to reinstall them.
Product Compliance and Suitability
The product statements contained in this guide are intended for general informational purposes only. Such product statements do not constitute a product recommendation or representation as to the appropriateness, accuracy, completeness, correctness or currentness of the information provided. Information provided in this guide does not replace the use by you of any manufacturer instructions, technical product manual, or other professional resource or adviser available to you. Always read, understand and follow all manufacturer instructions.