Using Quick-Connect Fittings
Push-to-connect fittings are pretty much exactly what their name would suggest. Also called push fittings or quick-connect fittings, they take the soldering or gluing out of basic plumbing connections for a simpler user experience.
Quick-connect fittings are applied after a pipe has been cut, cleaned, and marked for fitting depth. The next step is to apply the fitting onto the pipe. Once you’ve added a push fitting, the connection can remain permanent, but it’s also removable if necessary. It’s worth noting that quick-connect fittings can’t be used with galvanized steel pipe. Some brands will work with soft copper, but not all.
Quick-Connect Fitting Types
There are several different types of fittings available to meet varying needs.
How Do Quick-Connect Fittings Work?
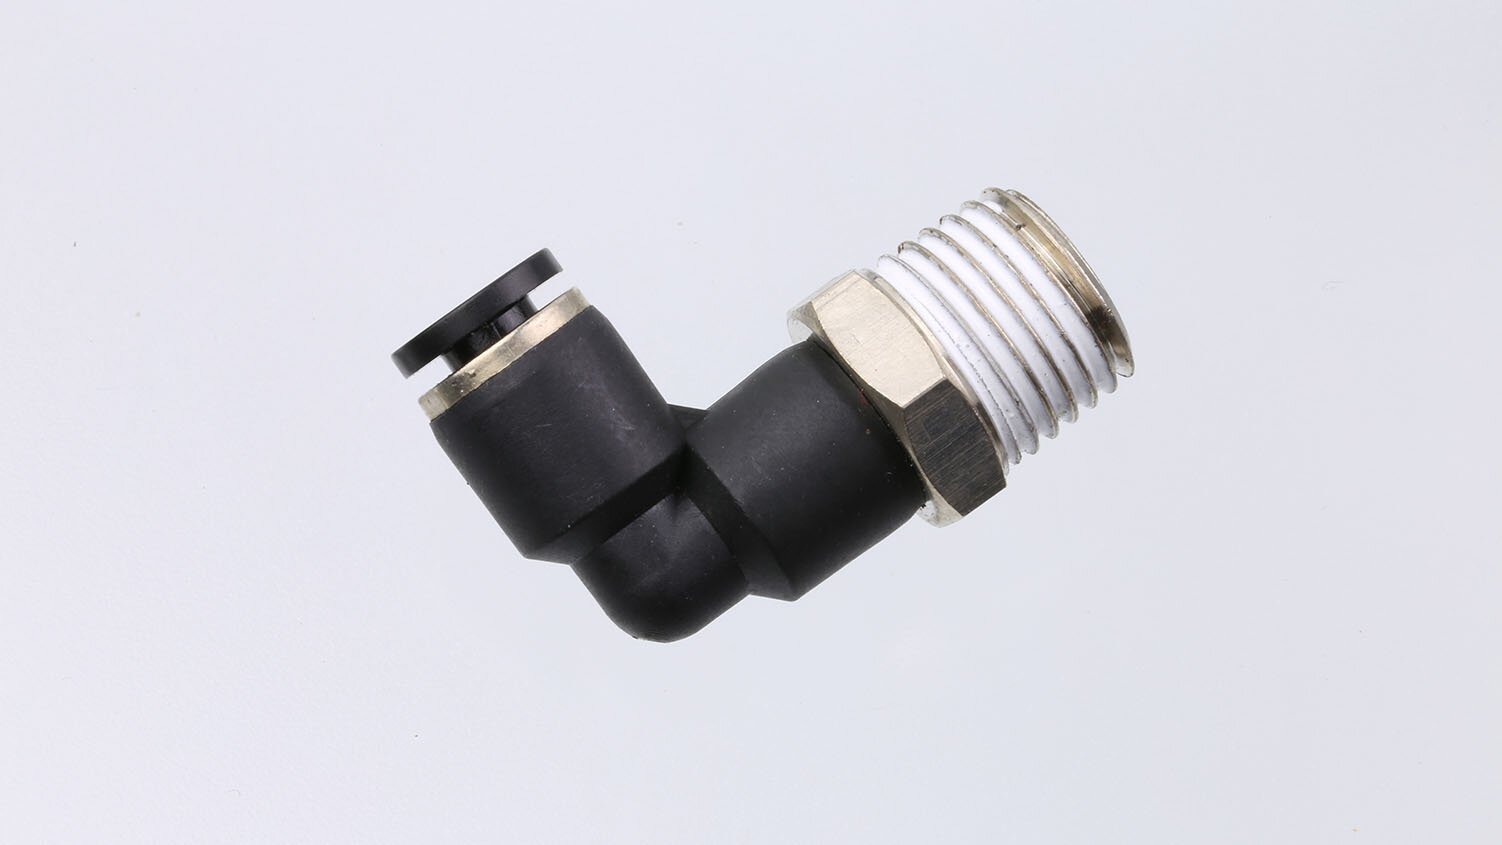
There are three basic components to a push fitting: a metal ring with teeth that are designed to firmly grip the pipe, an O-ring that creates a watertight seal, and a locking mechanism that ensures the connection stays in place. Simply pushing the fitting in place triggers the locking mechanism to create a seal.
Complying with Code
There is often some confusion about whether or not push fittings can be used behind walls and underground. You should check with your state code for more specific guidance; however, most plumbing codes permit them.
Two popular brands of quick-connect fittings include SharkBite and John Guest. According to both brands, their push fittings comply with the applicable sections of the latest edition of the Uniform Plumbing Code, including for behind-the-wall installations. John Guest adds that they are also in compliance with the International Plumbing Code, while SharkBite notes that they are compliant with the National Plumbing Code of Canada.
According to SharkBite, push fittings can also be utilized in underground applications and as manufactured joints without access panels.
Necessary Tools
Before you start, it will be helpful to have these tools on hand.
- Pipe cutter (to match the material of the pipe)
- Pipe reamer/deburrer (look for an inner/outer reamer that combines both)
- Depth gauge tool
- Marker
- Rag
How to Install Quick-Connect Fittings
Installing push fittings is simple and effective when done properly. These steps will help guide you.
Step 1. Cut pipe
Square cuts are important. A clean cut helps prevent the risk of leaks by ensuring the push fitting goes on correctly. There are different types of tube cutters for different materials, such as plastic or copper. Leave about an inch extra on the pipe, which will be covered by the fitting.
Step 2. Deburr the pipe
Use a pipe reamer and deburrer to ream the inside of the pipe and deburr the outside until any jagged edges are made smooth. Jagged edges can cause damage to the O-ring and result in a leak. Clean the pipe off with a rag to ensure a clean fit.
Step 3. Mark pipe
Use a depth gauge tool and marker to indicate the full depth of the fitting. You might also consider using a pre-measured inner/outer reamer to simplify marking. Just make sure the specified size is the same as required by your quick-connect fitting. Check the manufacturer of the quick-connect fitting you’re using to ensure you have the specified depth.
Step 4. Install fitting
Put the fitting directly over the end of the pipe and push all the way down. Check to make sure the end of the fitting aligns with your marked line. The connection should be secure. You can rotate the pipe while it’s in the fitting to complete other parts of your job.
Quick-connect fittings are a simple way to make leak-proof connections. They remove any errors or dangers that can occur during soldering and are less messy than adhesive solutions. However, it’s important to ensure that you are using the right fitting for the right purpose. Making sure you have even cuts and removing jagged edges will also prevent leaks from happening. Once installed, quick-connect fittings can be permanent and long-lasting. They also save time, though you should avoid using them in situations with heavy vibration since vibration can cause the connection to loosen.
Product Compliance and Suitability
The product statements contained in this guide are intended for general informational purposes only. Such product statements do not constitute a product recommendation or representation as to the appropriateness, accuracy, completeness, correctness or currentness of the information provided. Information provided in this guide does not replace the use by you of any manufacturer instructions, technical product manual, or other professional resource or adviser available to you. Always read, understand and follow all manufacturer instructions.