How Do Emergency Lights Work, How to Install and Service
Emergency lights have an independent power source to keep them on if the power goes out and include lighting for common areas such as staircases, as well as the traditional fire exit signs found in many buildings.
What Are Emergency Lights?
Essential in many businesses and public spaces as a basic safety measure for emergency situations—including power outages and fires—emergency lights are lights that use a backup power source to illuminate key areas when other lights aren't functioning. These lights have an independent power source to keep them on if the power goes out and include lighting for common areas such as staircases, as well as the traditional fire exit signs found in many buildings.
Beyond the obvious safety benefits for your employees, customers, and visitors, these lights are also required by law. Individuals or companies that fail to comply with safety codes by not installing proper emergency lights could find themselves faced with hefty fines and penalties.
All commercial buildings are required to have emergency lighting systems to comply with Occupational Safety and Health Administration (OSHA) codes. These requirements were originally established by the National Fire Protection Association (NFPA) under what’s known as the Life Safety Code, or NFPA 101, and call for buildings to provide a lighted path to an exit in the event of a power outage, a fire, or some other emergency situation.
Fire exit signs also must be present in commercial structures, and they must be powered by a reliable light source. Emergency lighting accessories, such as light sticks, can provide additional illumination if needed.
How Emergency Lights Work
The lights themselves are quite simple and consist of a fixture connected to the main power supply, which charges a small battery. If power to the fixture is cut, the circuits inside switch over to the backup battery to provide lighting during an outage.
The two primary categories of emergency lighting are:
- Maintained, which are used as part of day-to-day business, as well as during power failures. These lights are powered by the main electrical supply, as described above, and stay on without electrical power thanks to a battery-powered backup.
- Non-maintained, which are emergency lights that only light up during emergencies or when the power goes out.
Types of Emergency Lights and Exit Lights
Three of the most commonly used and required types of emergency or exit lights include:
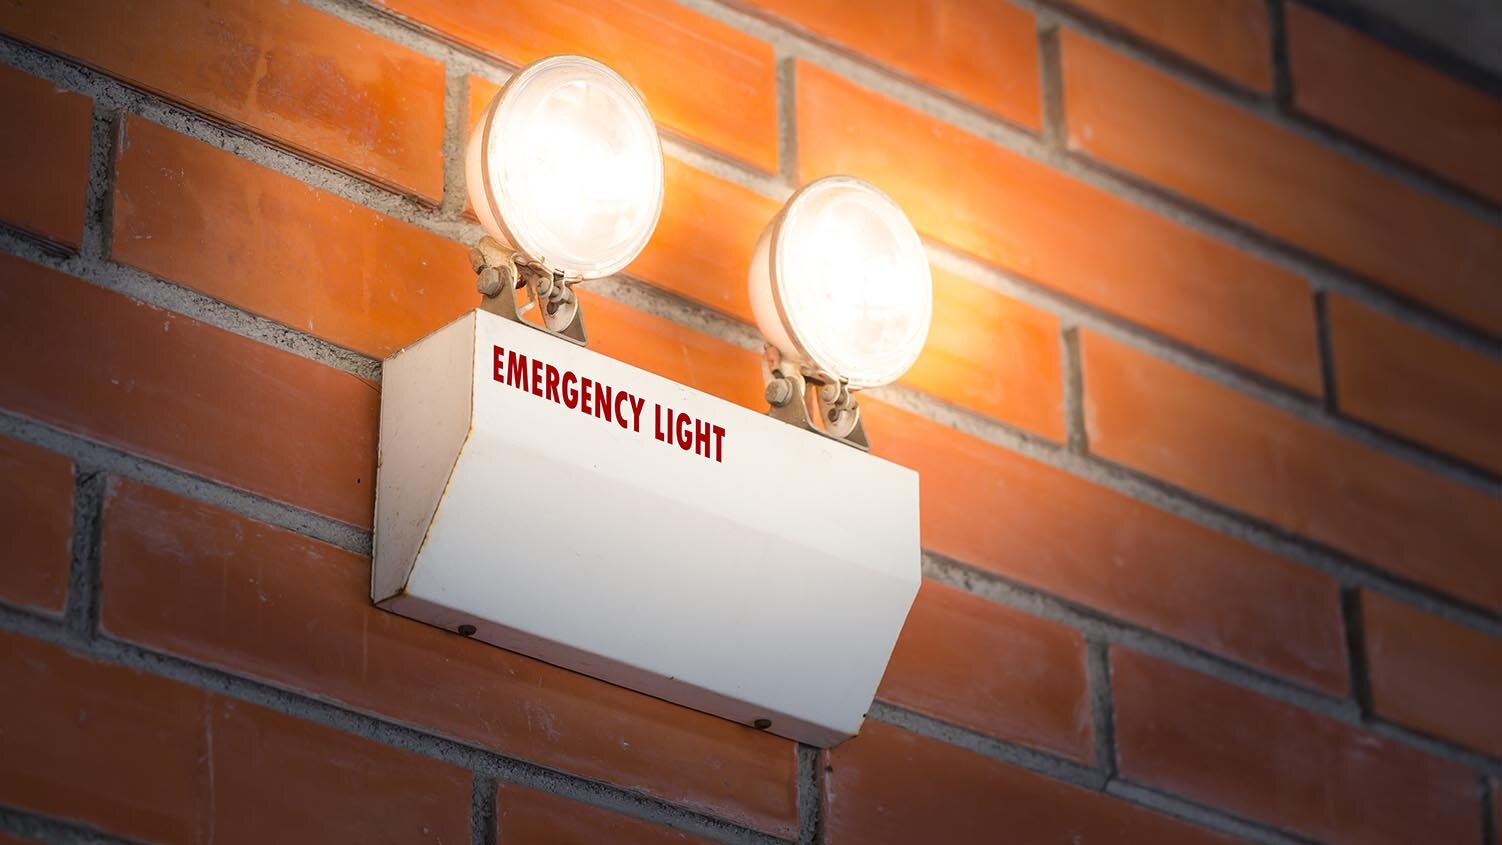
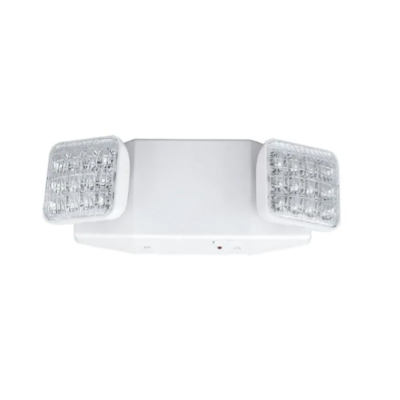
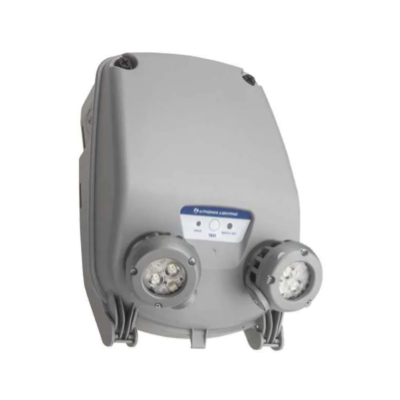
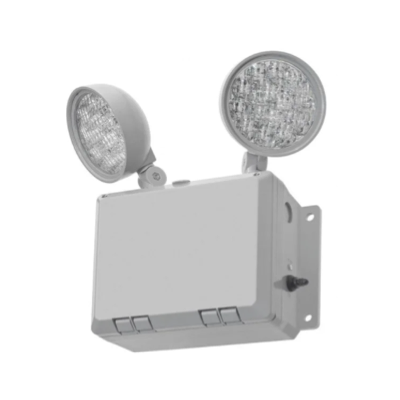
- Emergency lights, which typically house two lamps composed of several ultra-bright LEDs. These lights are built for efficiency and durability and include a long-lasting battery for use during outages.
 |
 |
 |
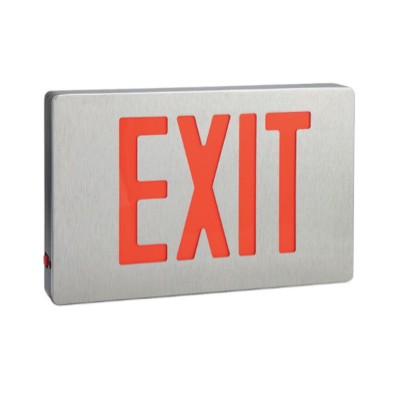
- Exit signs, which typically use LED lights for efficiency and also include a backup battery. These are commonly designed as mountable signs with red letters in a plastic housing, but other colors and materials are available.
- Combination emergency lights/exit signs, which typically include an exit sign as well as two very bright LED lamps on either side for illumination during outages.

How to Install Emergency Lights
Because of their importance, special care should be taken to ensure emergency lights are installed properly and serviced regularly. When installing emergency lights, first consult an electrician to ensure all safety procedures are followed. You may choose to have a professional install the fixtures for you. Regardless, be sure to refer to the instructions that come with the lights.
Remember, an emergency light is connected to the electrical wiring of a building or home and is designed to switch to battery power during an outage or if a breaker is tripped. Before installing, first make sure the house circuit you are connecting to is turned to the OFF position to avoid possible electrocution, and that the fuse box is tagged “Do Not Energize.”
There are two primary ways to mount emergency lights. In most cases, they will be attached (or partially attached) to the wall or ceiling before connecting the wiring. Lights will either use mounting brackets or have holes for screws to be drilled into wall studs.
Installation for Wall Mounting:
- First, take off the mounting pattern cutouts from the back plate to allow the wires to pass through.
- Install the provided bushing into the wire holes. These thin, hollow tubes are insulators that allow electricity to pass through safely without making contact with the fixture.
- After pulling the circuit wiring through the pass hole, attach to the sign.
Installation for Ceiling- or End-Mounted Lights:
- Remove the wire pass cutouts from the top or side of the unit.
- Attach the canopy to the power pack or the sign itself using provided screws and hardware.
- Use the two longest screws in the outer holes of the hanging plate to attach the unit.
- Pull the circuit wiring through the center hole in the plate and fasten the plate to the electrical box.
- Maneuver the circuit wiring through the pass hole into the power pack.
- Place the sign or fixture canopy onto the electrical box, making sure the long plate screws pass through the holes.
- Secure the sign or canopy using the supplied nuts.
- Once the unit is mounted, the wiring is typically covered with metal or thermoplastic housing.
Making the Connection
You will need to make either two or three connections to your house or business electrical system to properly install the emergency lights. Review the instructions to establish the voltage needed for the fixture—120 or 277 volts. Then, look at the connection on the fixture itself. The wires should feature the following:
- A single common wire (white)
- 120-volt wire (black)
- 277-volt wire (red)
- An optional ground wire (green)
Connect the appropriate common and voltage wires from the house power to the unit—and the ground wire if your fixture calls for it. You may need to use wire strippers or crimpers to remove the wire cover and make the connection. Be sure not to connect both the 120-volt and 277-volt wires as it will cause the light fixture to malfunction.
Additional Installation Tips:
- Consider LED emergency lights, which have a longer lifespan than incandescent and halogen lights.
- Plot out escape paths within your building or home and strategically place emergency lights to provide the quickest evacuation routes. Consider hiring a fire protection company to offer advice based on the specific layout of your space and to meet OSHA regulations.
- Schedule routine inspections with a fire protection company to ensure all lighting is operational and in full compliance.
Emergency Lights & Exit Signs Conclusion
Emergency lights and exit signs aren't just an essential part of any safety planning for power outages, fires, and other emergencies—they're also required by law in commercial buildings and other structures. Always ensure that your business is meeting the legal requirements for safety and emergency lighting, and if necessary, don't hesitate to hire a professional to assist you with the purchasing and installation process. The safety of yourself and those you work with could be at stake.
Standard fixtures can also be supplemented with accessories, such as battery backups and emergency light sticks and holders. Putting time and thought into your specific emergency lighting needs will go a long way toward providing peace of mind for building and home owners.
Product Compliance and Suitability
The product statements contained in this guide are intended for general informational purposes only. Such product statements do not constitute a product recommendation or representation as to the appropriateness, accuracy, completeness, correctness or currentness of the information provided. Information provided in this guide does not replace the use by you of any manufacturer instructions, technical product manual, or other professional resource or adviser available to you. Always read, understand and follow all manufacturer instructions.