How to Sharpen Lawn Mower Blades
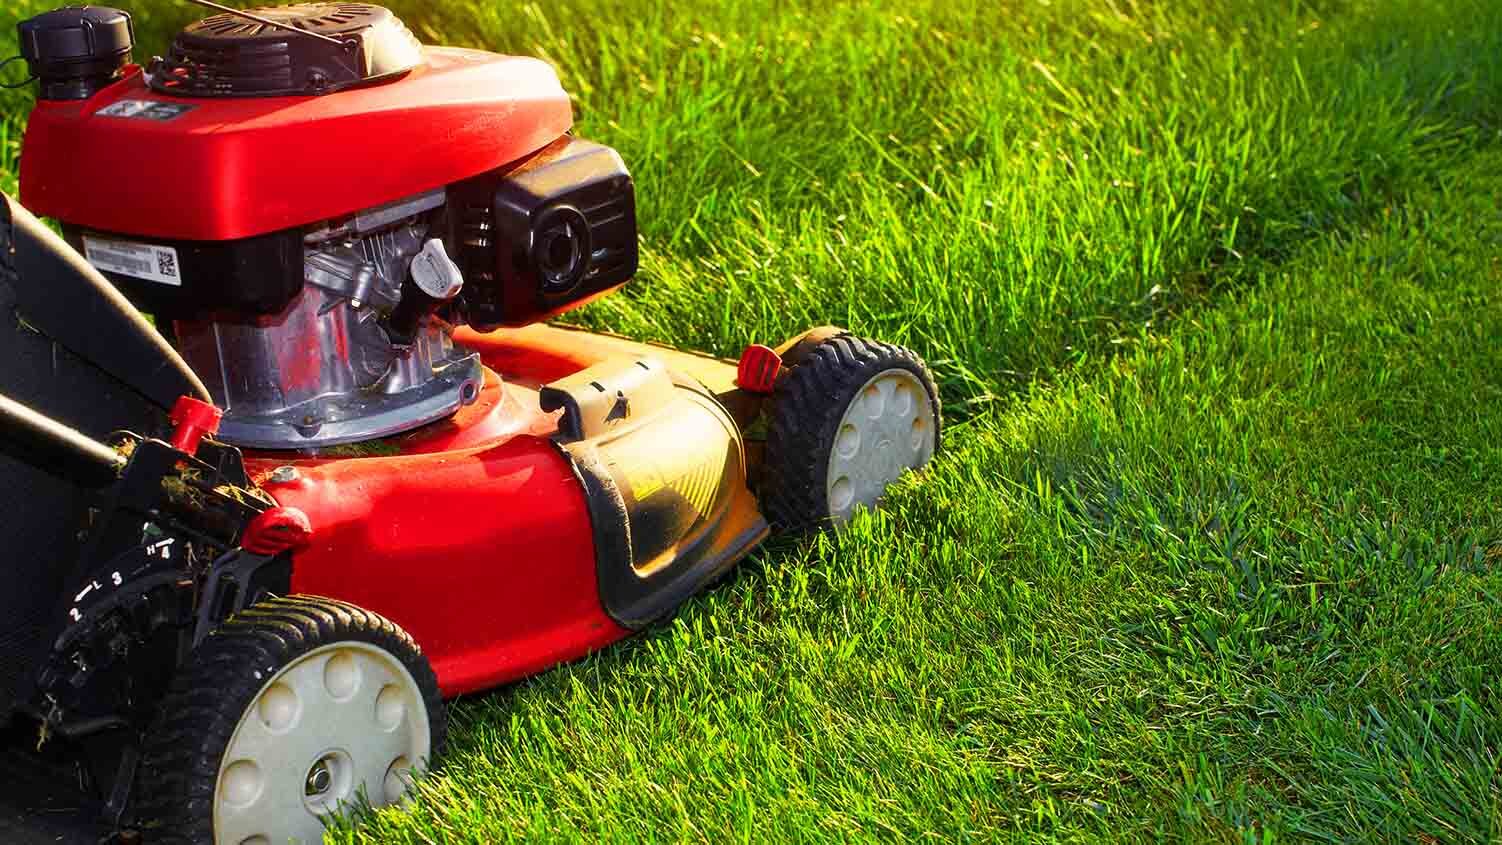
Much like shaving with a dull razor, mowing a lawn with a dull lawn mower blade can yield similar undesirable results. Using a dull razor can leave nicks, cuts, abrasions, and make for an overall uncomfortable shave. But, with a nice, sharp blade you'll get a smooth, clean shave.
When the mower blade is worn, damaged, and dull it rips and tears at the grass, leaving behind an uneven, ragged, and unsightly cut. This leaves the grass with a frayed appearance which can lead to a rapid loss of moisture in the lawn. And it can cause the grass to fade in color, so it has a more white-yellow look rather than a nice, healthy green appearance. Additionally, damaged grass is more likely to attract insects and pests, leaving it susceptible to disease.
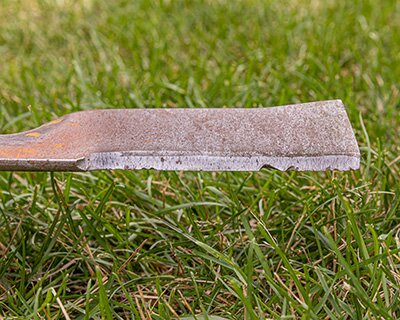
These are some sure-fire, tell-tale signs that the lawn mower blade is dull and is in need of sharpening. However, to ensure that sharpening is definitely necessary, it's best to do a visual check of the blade to confirm it. When inspecting the blade, look for common signs of dull blades including dents, nicks, and bent blades.
|
Dull Blade: |
Sharp Blade: |
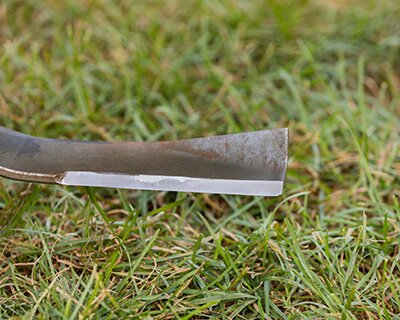
When it comes time to take care of the dull blade, there are a couple of options: replace it or sharpen it. If the blade is severely nicked, dented, or bent, replacement is your best bet. However, if it can be repaired by sharpening, it's not too difficult of a DIY task to get it back in excellent lawn-cutting shape.
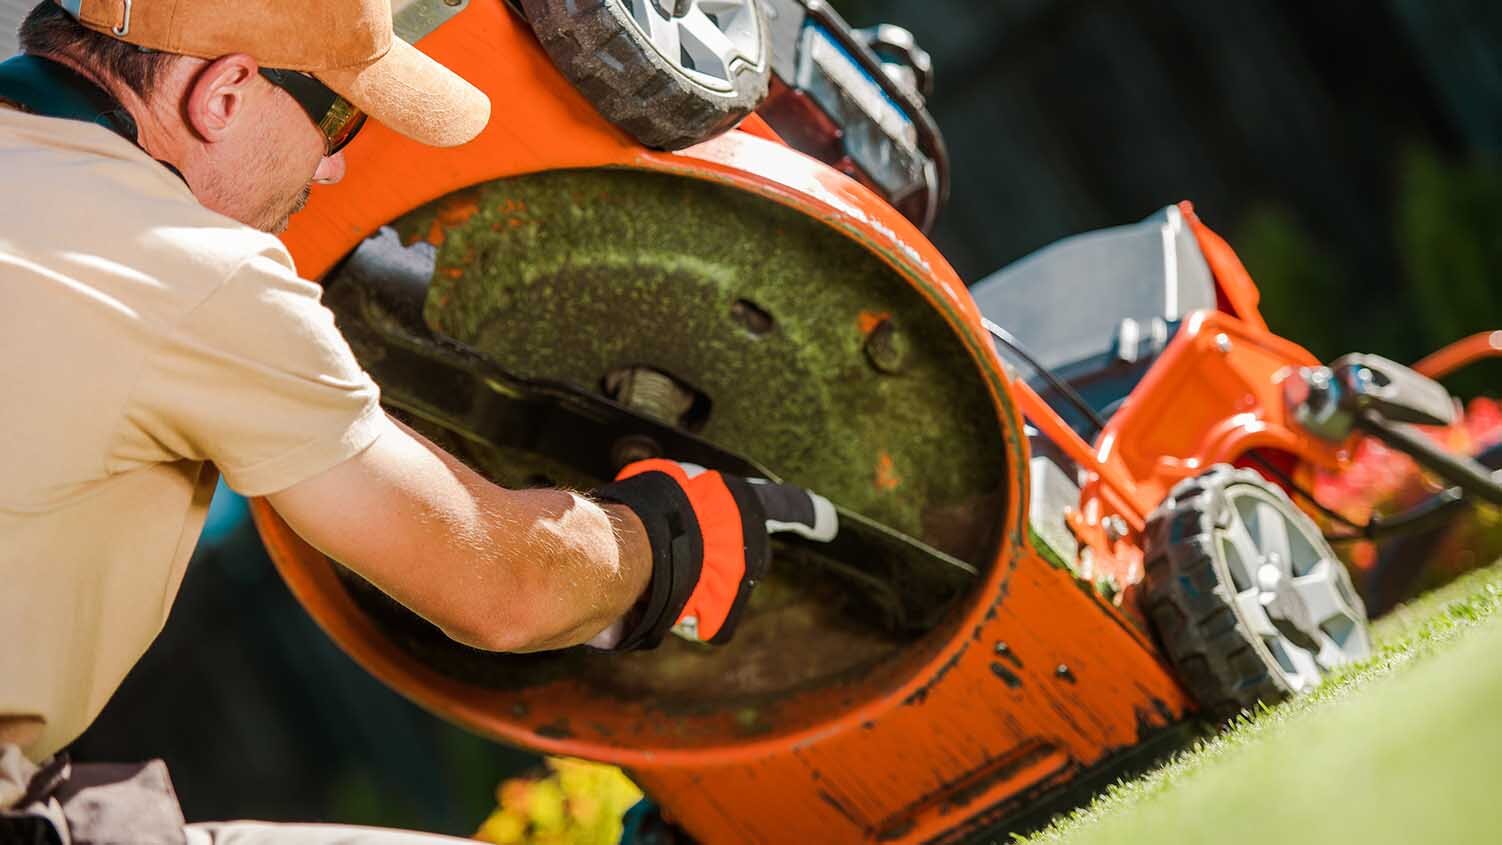
To sharpen the blade, the first thing you'll want to do is disconnect the spark plug from the lawn mower to ensure your safety while removing the blade. With the spark plug disconnected, the blade can be safely removed. While wearing safety glasses and a pair of protective gloves, flip the mower onto its side so the carburetor and air filter are facing up. This will keep gas and oil from dripping into the air filter. Next, wedge a short piece of a 2" x 4" stud between the blade and the deck. This helps secure the blade in place and keeps it from moving while you hold the blade with one hand and loosen the bolt with a long-handled ratchet in the other hand. Once you've loosened the bolt and blade, remove both so the blade can now be sharpened.
When the blade is removed, it can be sharpened and replaced in the mower in about 10 minutes. While a bench grinder can do the job quickly if you're not used to grinding a blade to sharpen it, it's more difficult to control the process, which can lead to overheating the blade and actually ruining it. The recommended method is to do it by hand using a hand file.
To sharpen by hand, the blade will first need to be secured in a vise. Mower blades are made from relatively soft steel, so it's easy to get a nice, clean cutting edge with a hand file in about 50 strokes. Using a clean, sharp “mill bastard” file that's at least 10" long, sharpen from the top side of the cutting edge with the file maintained at the 45-degree angle of the cutting edge of the blade. The file cuts and sharpens only in one direction—the push stroke. If done properly, you should feel the file "bite" into the steel on the blade. If you don’t feel the cutting action, your file is likely too dull or you’re not pressing down hard enough during the stroke. Don't try to get a razor- or knife-sharp edge on the blade. Too sharp of an edge will dull much quicker. A scissor-sharp edge will be sufficient.
Once the blade is sharpened, you'll want to ensure that it is balanced so it cuts the lawn cleanly. An unbalanced blade can cause excessive vibration to the mower, putting stress on the cutting deck and engine. To check the blade's balance, pound a nail in a wall and hang the blade from the center hole. If it hangs horizontally, it's balanced. If it tilts to one side, remove more blade material from that side by once again repeating the sharpening stroke with the file; but be sure you've put the blade back in the vise.
Now that you've sharpened the blade, reinstall it in the mower by hand tightening it under the deck. The sharpened blade is now good for another 8-12 hours of cutting service. When ready to get mowing again, simply reconnect the spark plug wire and you're good to go. You'll now be the envy of your neighborhood with how nicely cut your lawn will look!
Product Compliance and Suitability
The product statements contained in this guide are intended for general informational purposes only. Such product statements do not constitute a product recommendation or representation as to the appropriateness, accuracy, completeness, correctness or currentness of the information provided. Information provided in this guide does not replace the use by you of any manufacturer instructions, technical product manual, or other professional resource or adviser available to you. Always read, understand and follow all manufacturer instructions.